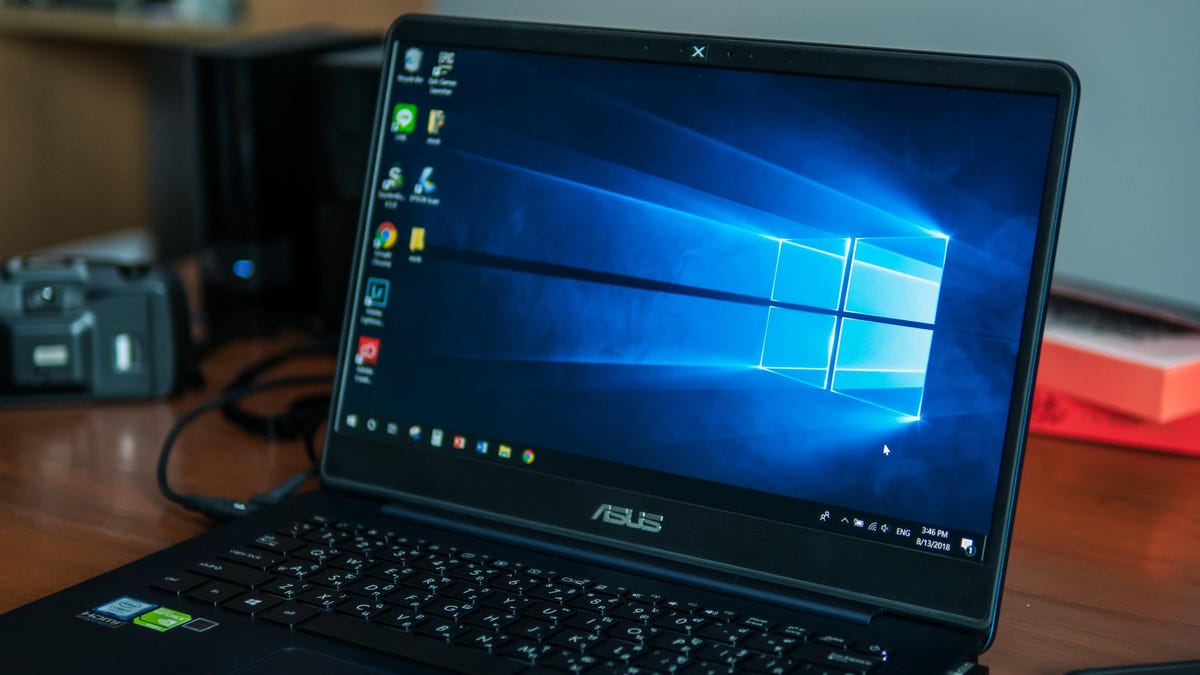
What happens on your PC doesn’t have to stay on your PC. If you ever want to show others what’s happening on your screen, whether that’s for a YouTube video, a social media post, or to teach a relative how to do something on their computer, record it! Windows 11 has two built-in ways to screen record, so there’s no need to download any third-party tools if you don’t want to.
Screen recorder in Snipping Tool
The Snipping Tool has been around in one form or another for over 20 years, and with each new major Windows release, Microsoft has given it some new tricks. Now in Windows 11, the Snipping Tool can record video of your screen, in addition to taking standard screenshots.
To start screen recording in the Snipping Tool, open the utility by searching for it in the Start menu. In the top toolbar, click on the video camera icon to launch the video recording function. Press the New button, and the Snipping Tool will turn into a crosshair that lets you select the part of your screen you’d like to record. When you’re ready, hit the Start button, and, after a three-second timer, your recording will begin.
To pause or stop your recording, just press the pause icon or the red square icon. When finished, your recording will open in a player window. All your recordings are automatically saved in your Videos folder.
It’s worth noting that screen recording with the Snipping Tool does not record audio, so all recordings will be silent.
Screen record with Game Bar
While the Xbox Game Bar is primarily focused for gaming, it works for recording other applications as well.
To use the Game Bar, press Windows + G or search for it in the Start menu. Then, press the Camera icon to open the capture window. You can choose to enable or disable your mic by clicking on the Microphone icon.
To start recording, press the Record icon (the button with the solid white circle). To finish your recording, just click Stop. To see your recordings, click where it says Show all captures.

