If you’ve ever wanted to remove the background from a photo on your iPhone to isolate the subject of the image, we have good news for you. That feature is built into the Photos app, and it works incredibly well. Safari also has the same feature for web images.
However, there’s another default iPhone app where you might want to take advantage of the feature. The same process is even faster and has the added benefit of saving the subject of the image as a separate file that you can use elsewhere.
How to lift the subject of a photo in iOS 16 or later
This is a feature Apple unveiled last year as a part of its iOS 16 rollout. Go to the Photos app, pick a photo with a subject you want to capture, and tap and hold the person or object lift it out.
You’ll see options to Copy or Share that will let you move the subject to another app. You can save it as a separate file, share with friends, or use it for a different purpose.

If you want to pull off the same trick in Safari, just perform the same tap-and-hold gesture on a photo and look for the Copy Subject option. This will let you lift the subject and use it elsewhere.
Conversely, you can always save photos from the web to your Photos or Files apps and then remove the background from there.
Remove the background of iPhone photos in under five seconds
I mentioned the Files app because that’s also a great place to use this feature. The advantage is that once you use it, it automatically saves the subject once it removes the background.
The procedure takes less than five seconds if the image is saved in your Files folder. You can always copy and paste the image from the Photos app first if you want to use this iOS 16 feature this way.
Once that’s done, just tap and hold the photo so a menu comes up.

Select the Quick Actions menu as I did below. Choose the Remove Background option.
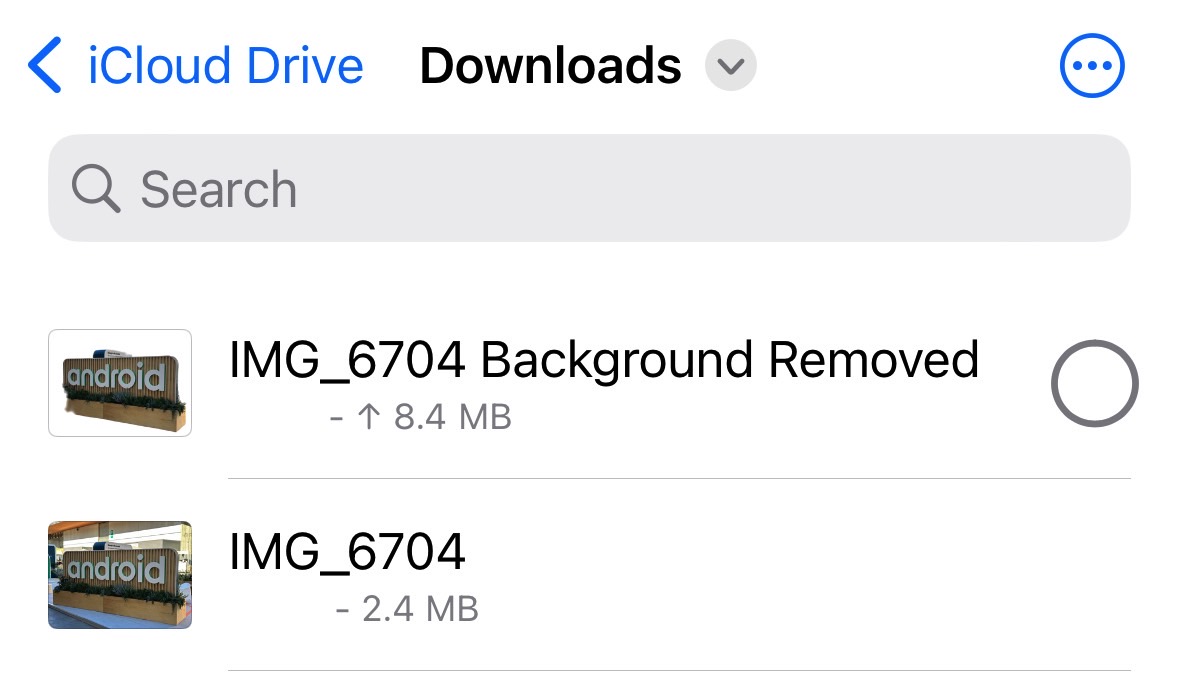
After that, iOS will save the resulting file in the Files app. It’ll have the same name as the original image, with a “Background Removed” appendage:

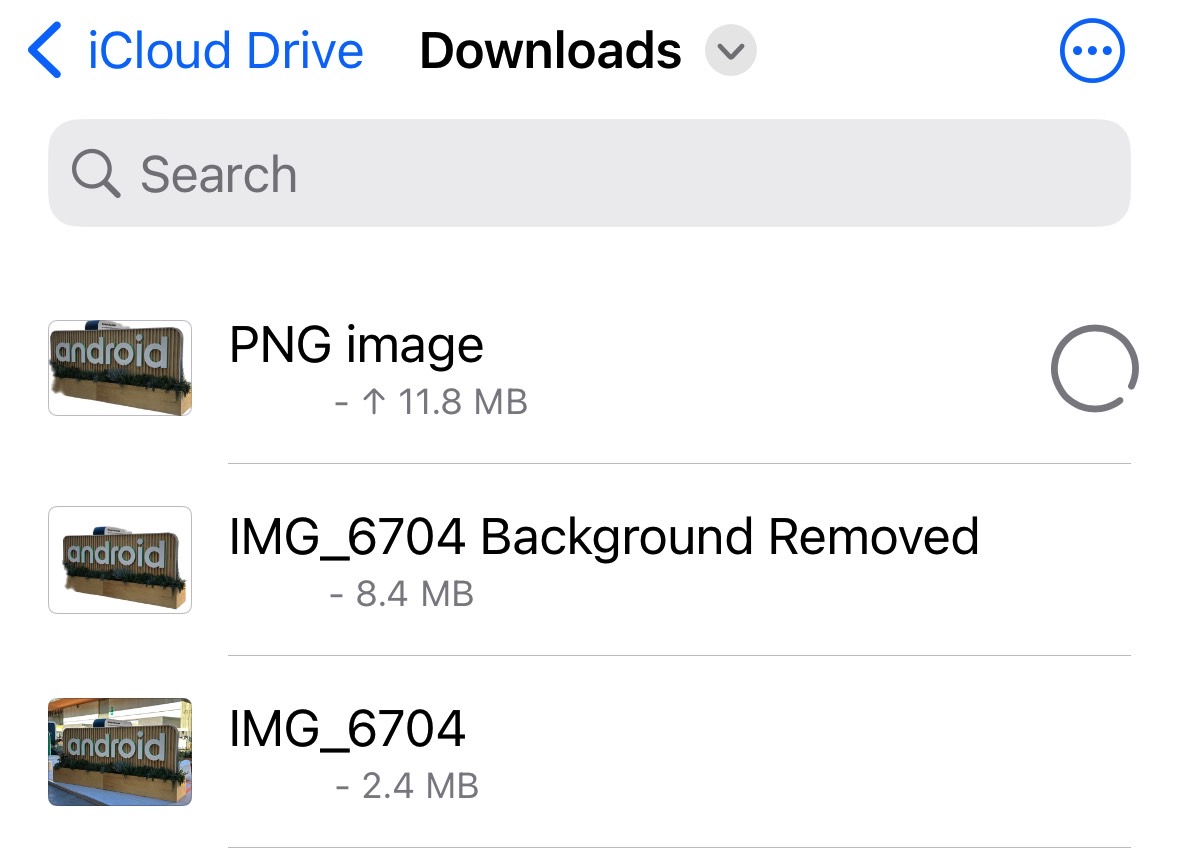
As you can see below, I also saved a slightly larger PNG file that shows the same subject. That file comes from the previous procedure: lifting the subject from the Photos app. I then choose to copy and paste the subject to the Files app to see what differences, if any, I should expect.

Aside from being slightly larger, the PNG file also appears to be zoomed in. But the subject is identical.
Bonus tip: If you need to remove the background from multiple images, you can select all of them in the Files app and perform the same steps. Quick Actions will lift the subject from each photo and save them as separate files. This is much faster than the Photos or Safari options above.
While we’re talking about camera tips, this guide will show you how to capture smoother videos on iPhone and Android.

