iOS 17 is coming later in the year, and it’s been available in beta form for a while now. One of the update’s more interesting features is Personal Voice.
A new accessibility option in iOS 17, Personal Voice builds something akin to a replica of your voice and then allows you to send messages with it.
It’s certainly a unique addition and it’s also one of the more time-consuming iOS features to set up. In this guide, we’ll walk through the process step by step.

Apple TV+
The Home of Apple Originals. Enjoy star-studded, award-winning series, films, and more. Grab your 7 day free trial now.
- Apple
- 7 day free trial
- £6.99 p/m
What you’ll need:
The Short Version
- Unlock your iPhone
- Open Settings
- Tap on Accessibility
- Scroll down to Personal Voice and tap it
- Select Create Personal Voice
- Tap Continue
- Tap Continue, again
- Type in the name of your Personal Voice and tap Continue
- Begin reading the phrases
- Once completed, tap Continue
- Tap OK
- Charge and Lock your iPhone to begin generating your Personal Voice
-
Step
1Unlock your iPhone
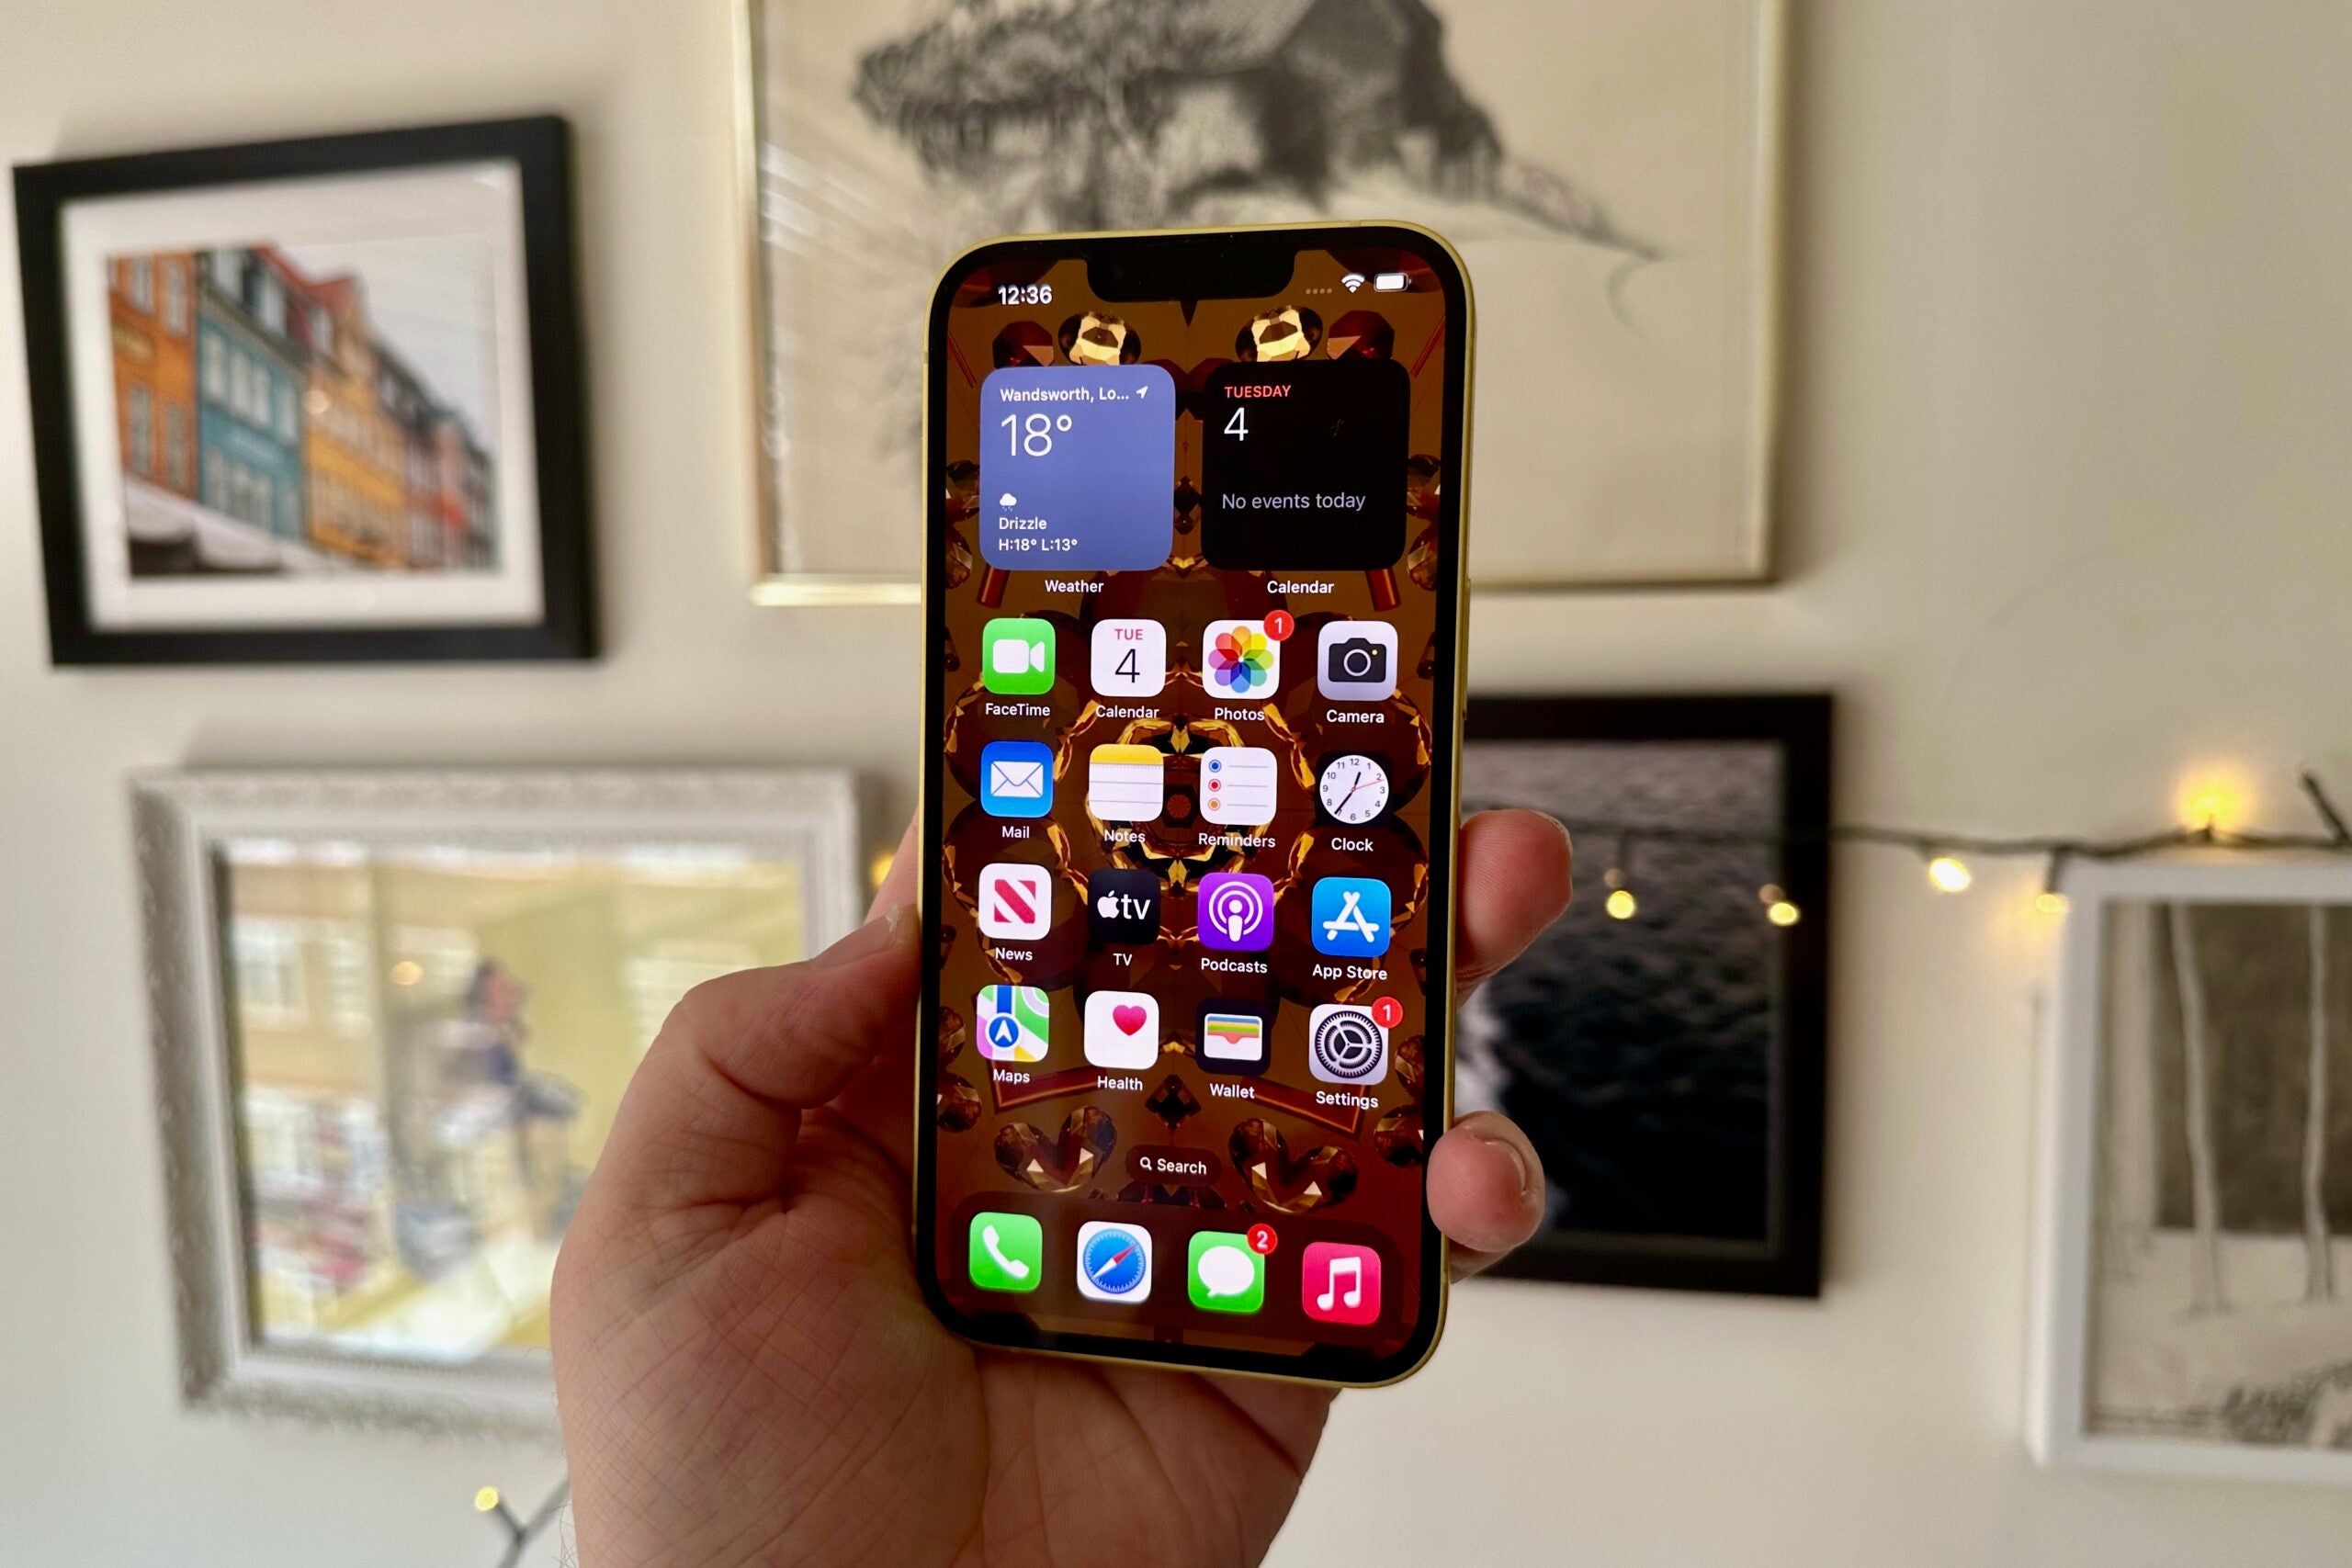
To begin, unlock your iPhone running either the public or developer beta of iOS 17.

-
Step
2Open Settings
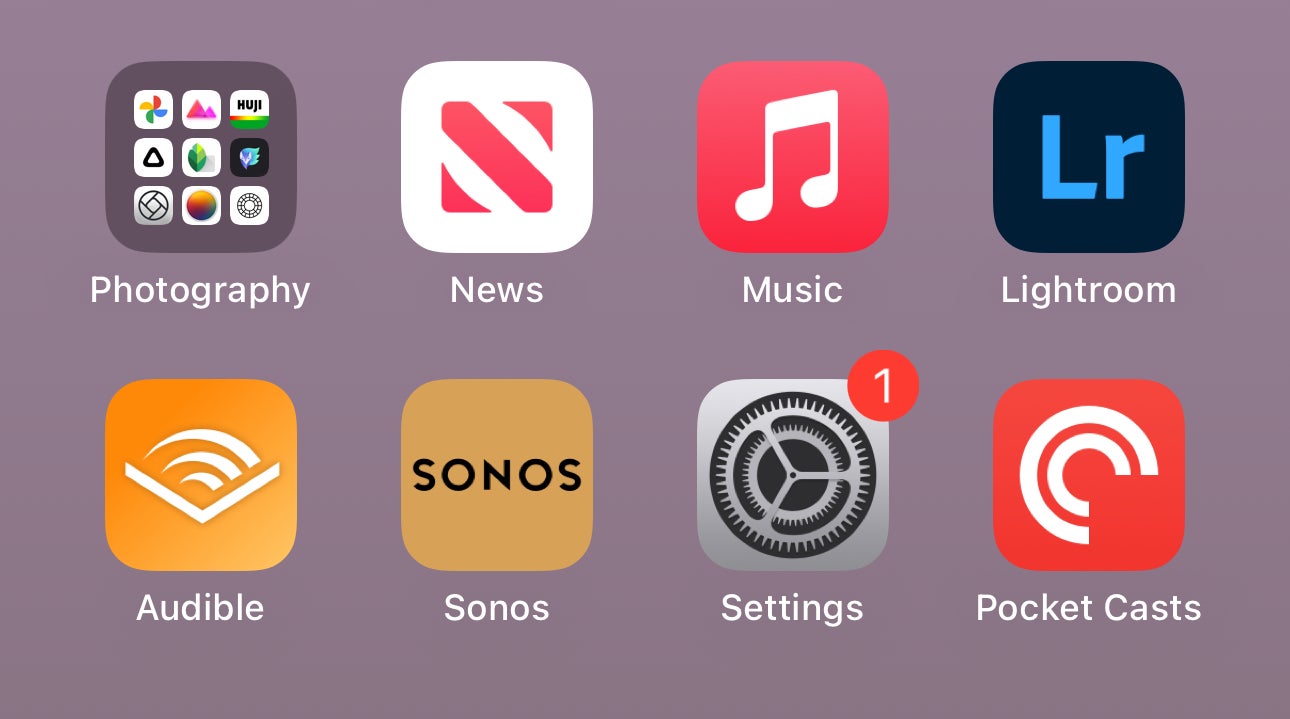
Navigate to Settings. This is the app with the icon that looks like a cog.

-
Step
3Tap on Accessibility
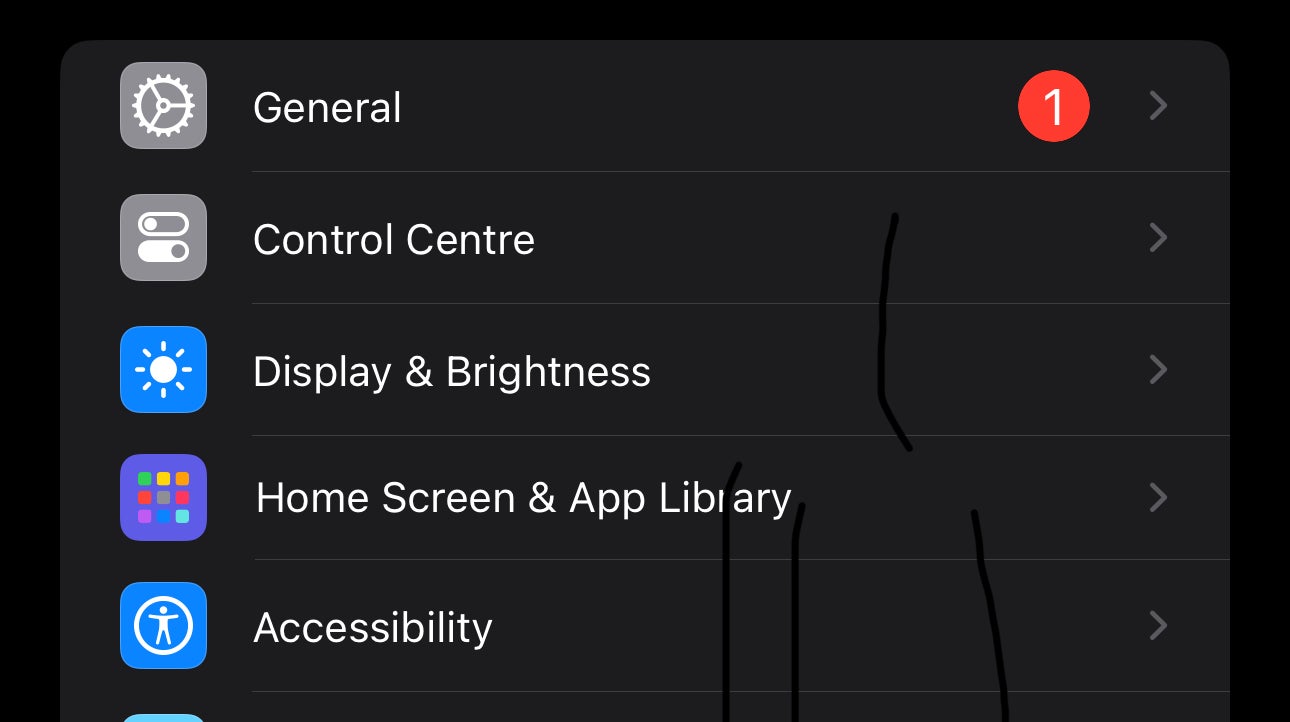
Scroll down to the Accessibility option and tap it.

-
Step
4
Find the option called Personal Voice. Tap it.

-
Step
5Select Create Personal Voice
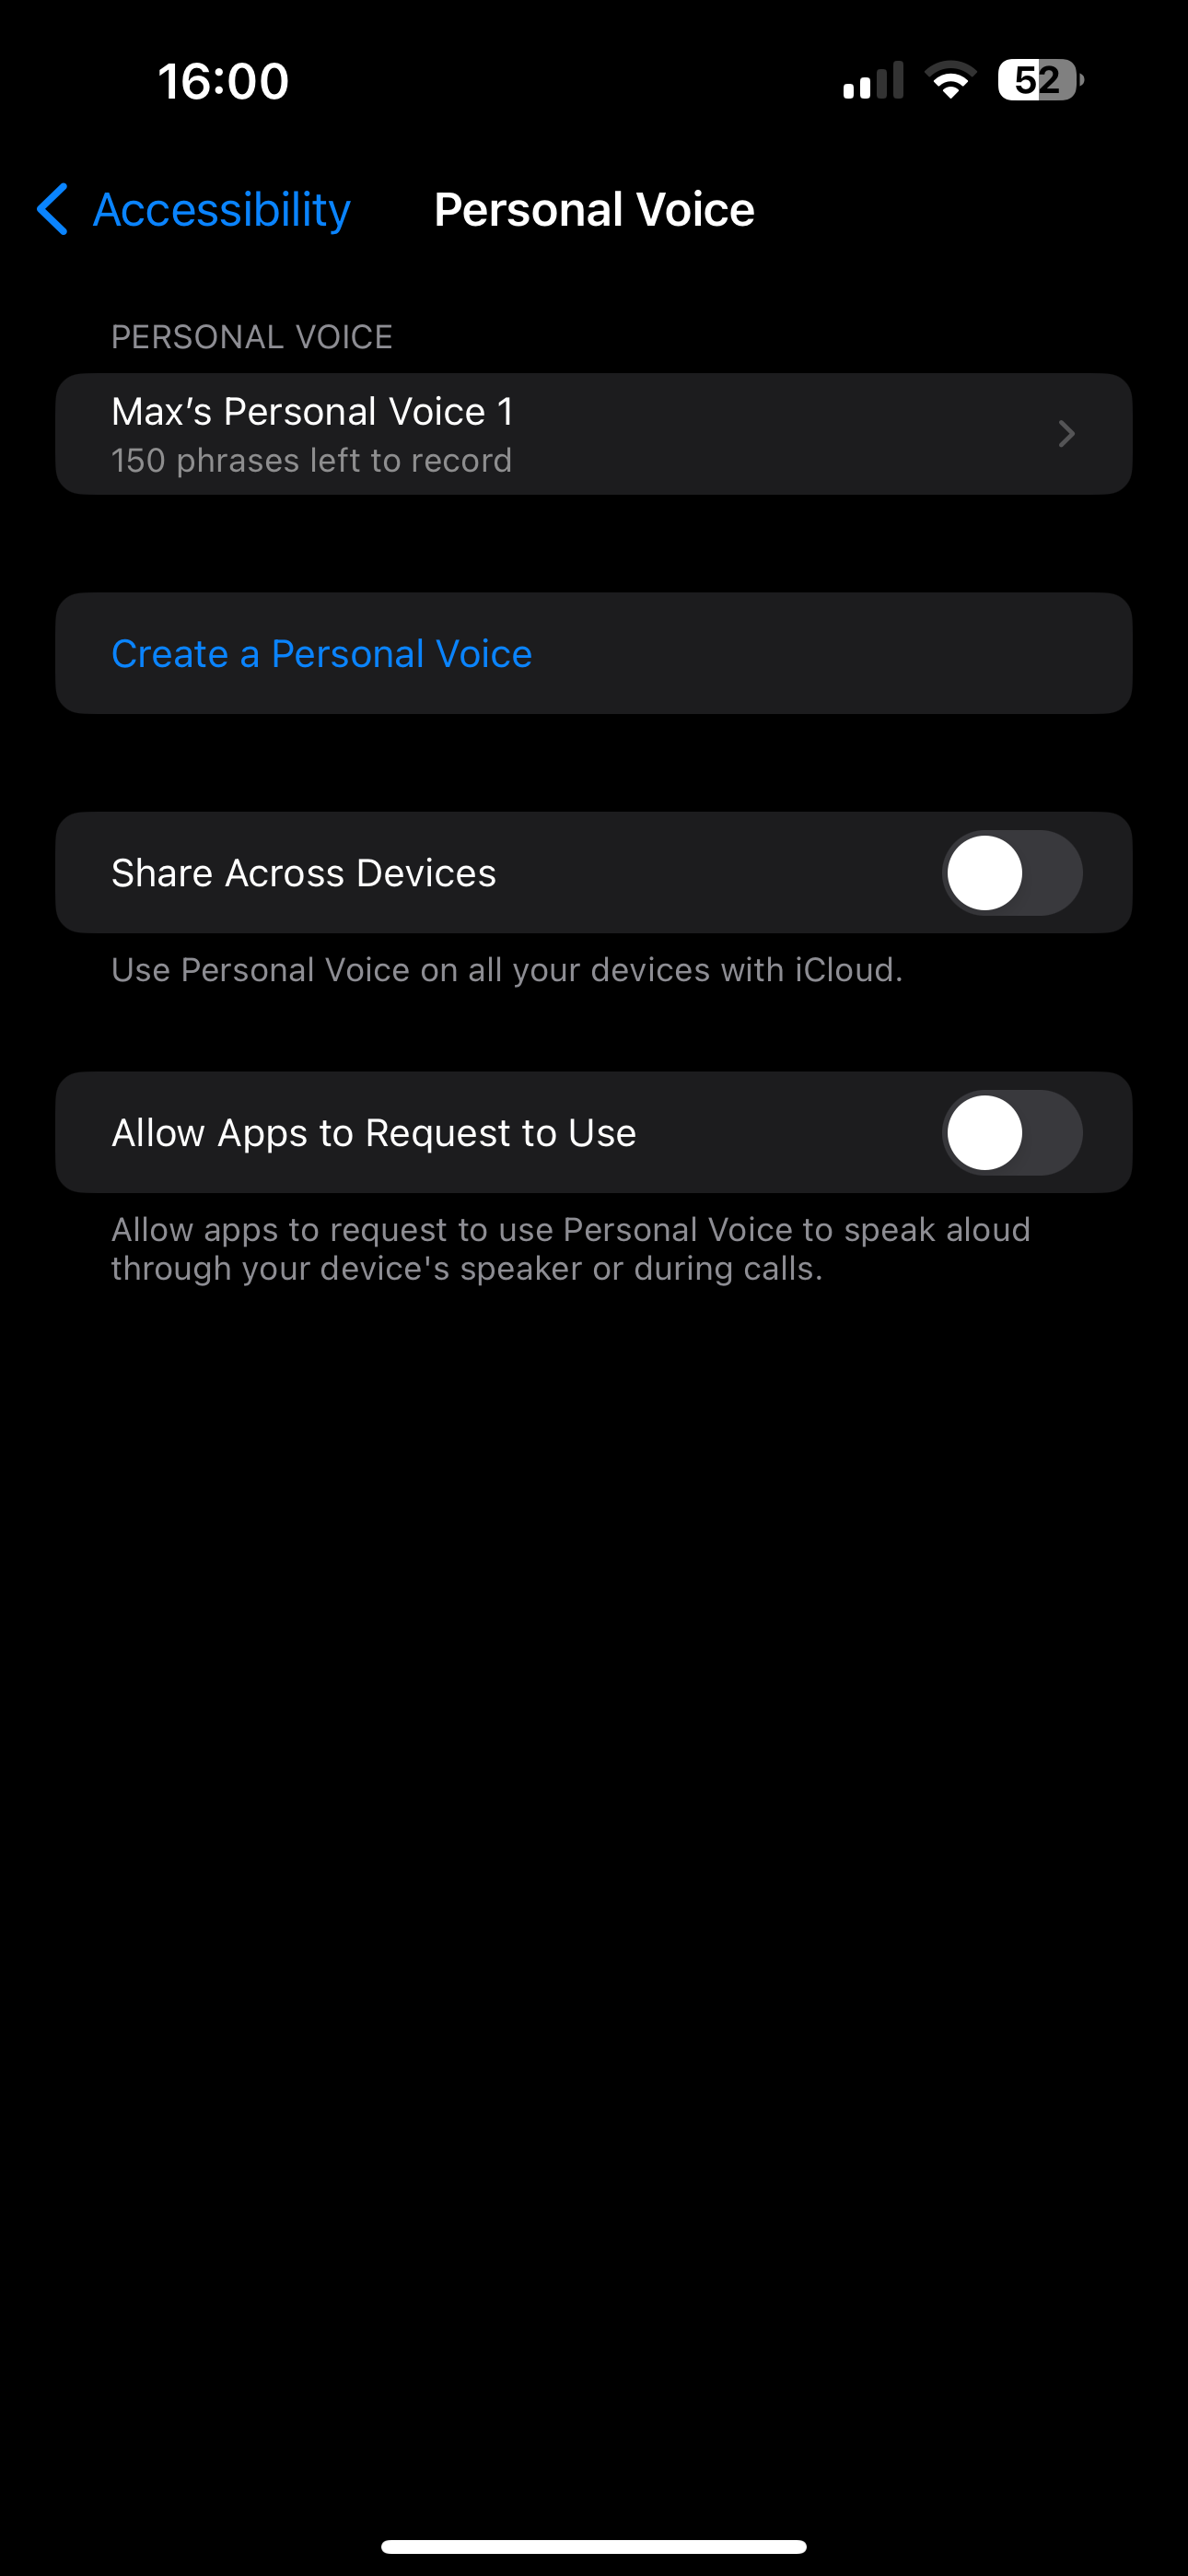
Next, select Create Personal Voice. You’ll see a number of pop-ups.

-
Step
6Tap Continue
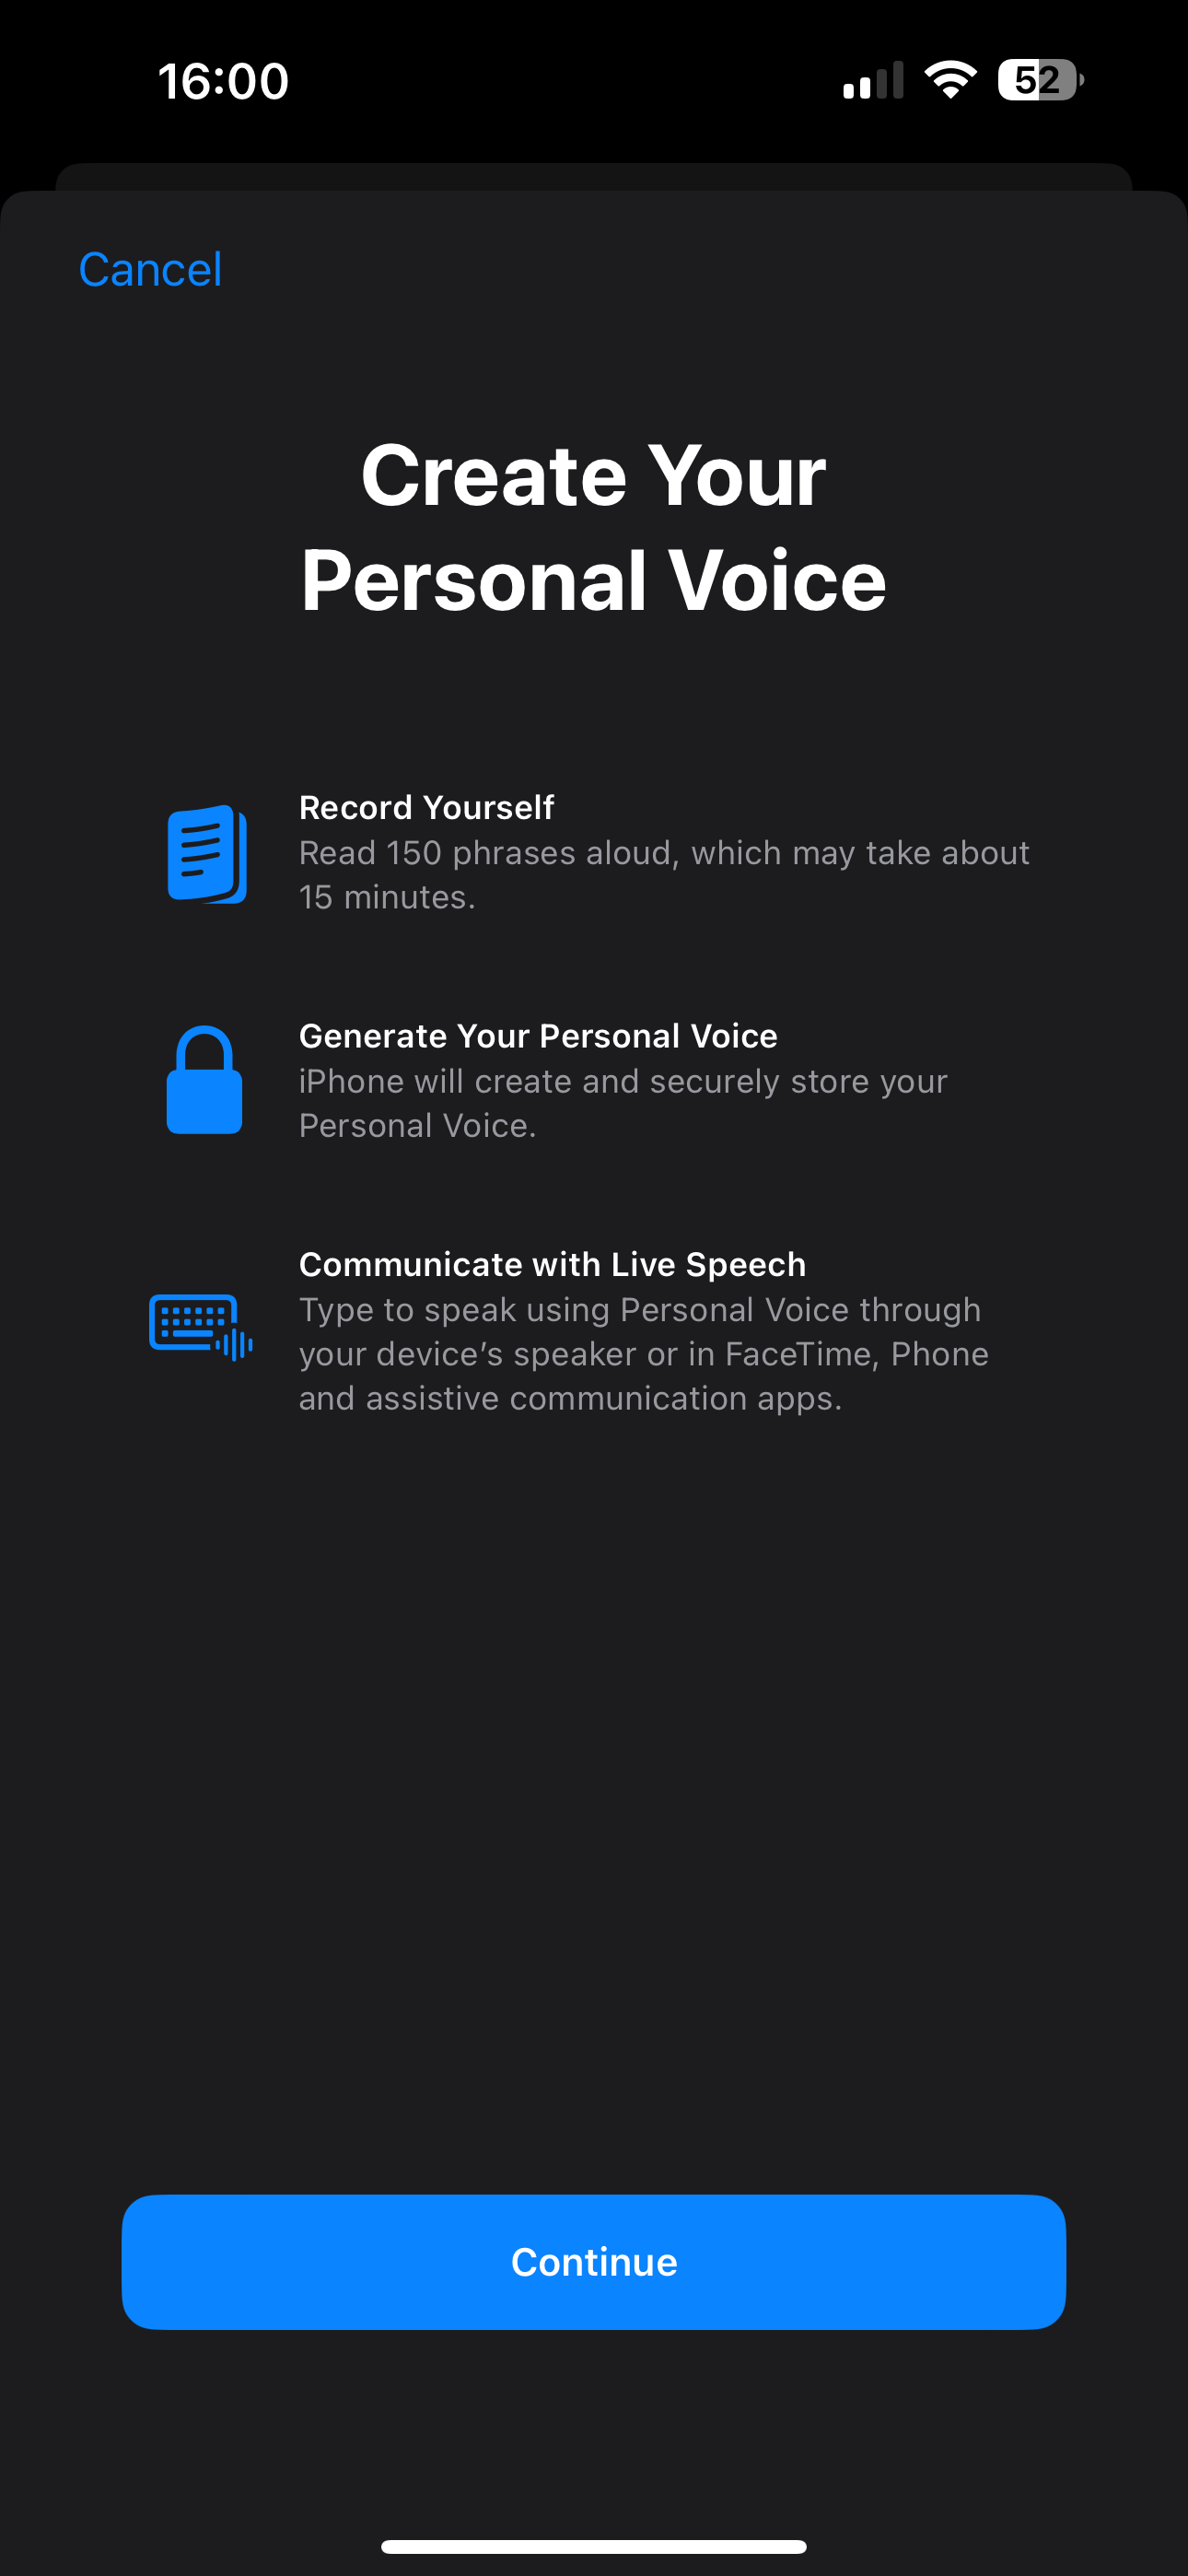
This first screen describes the Personal Voice feature. If you want to keep on going, hit Continue.

-
Step
7Tap Continue, again
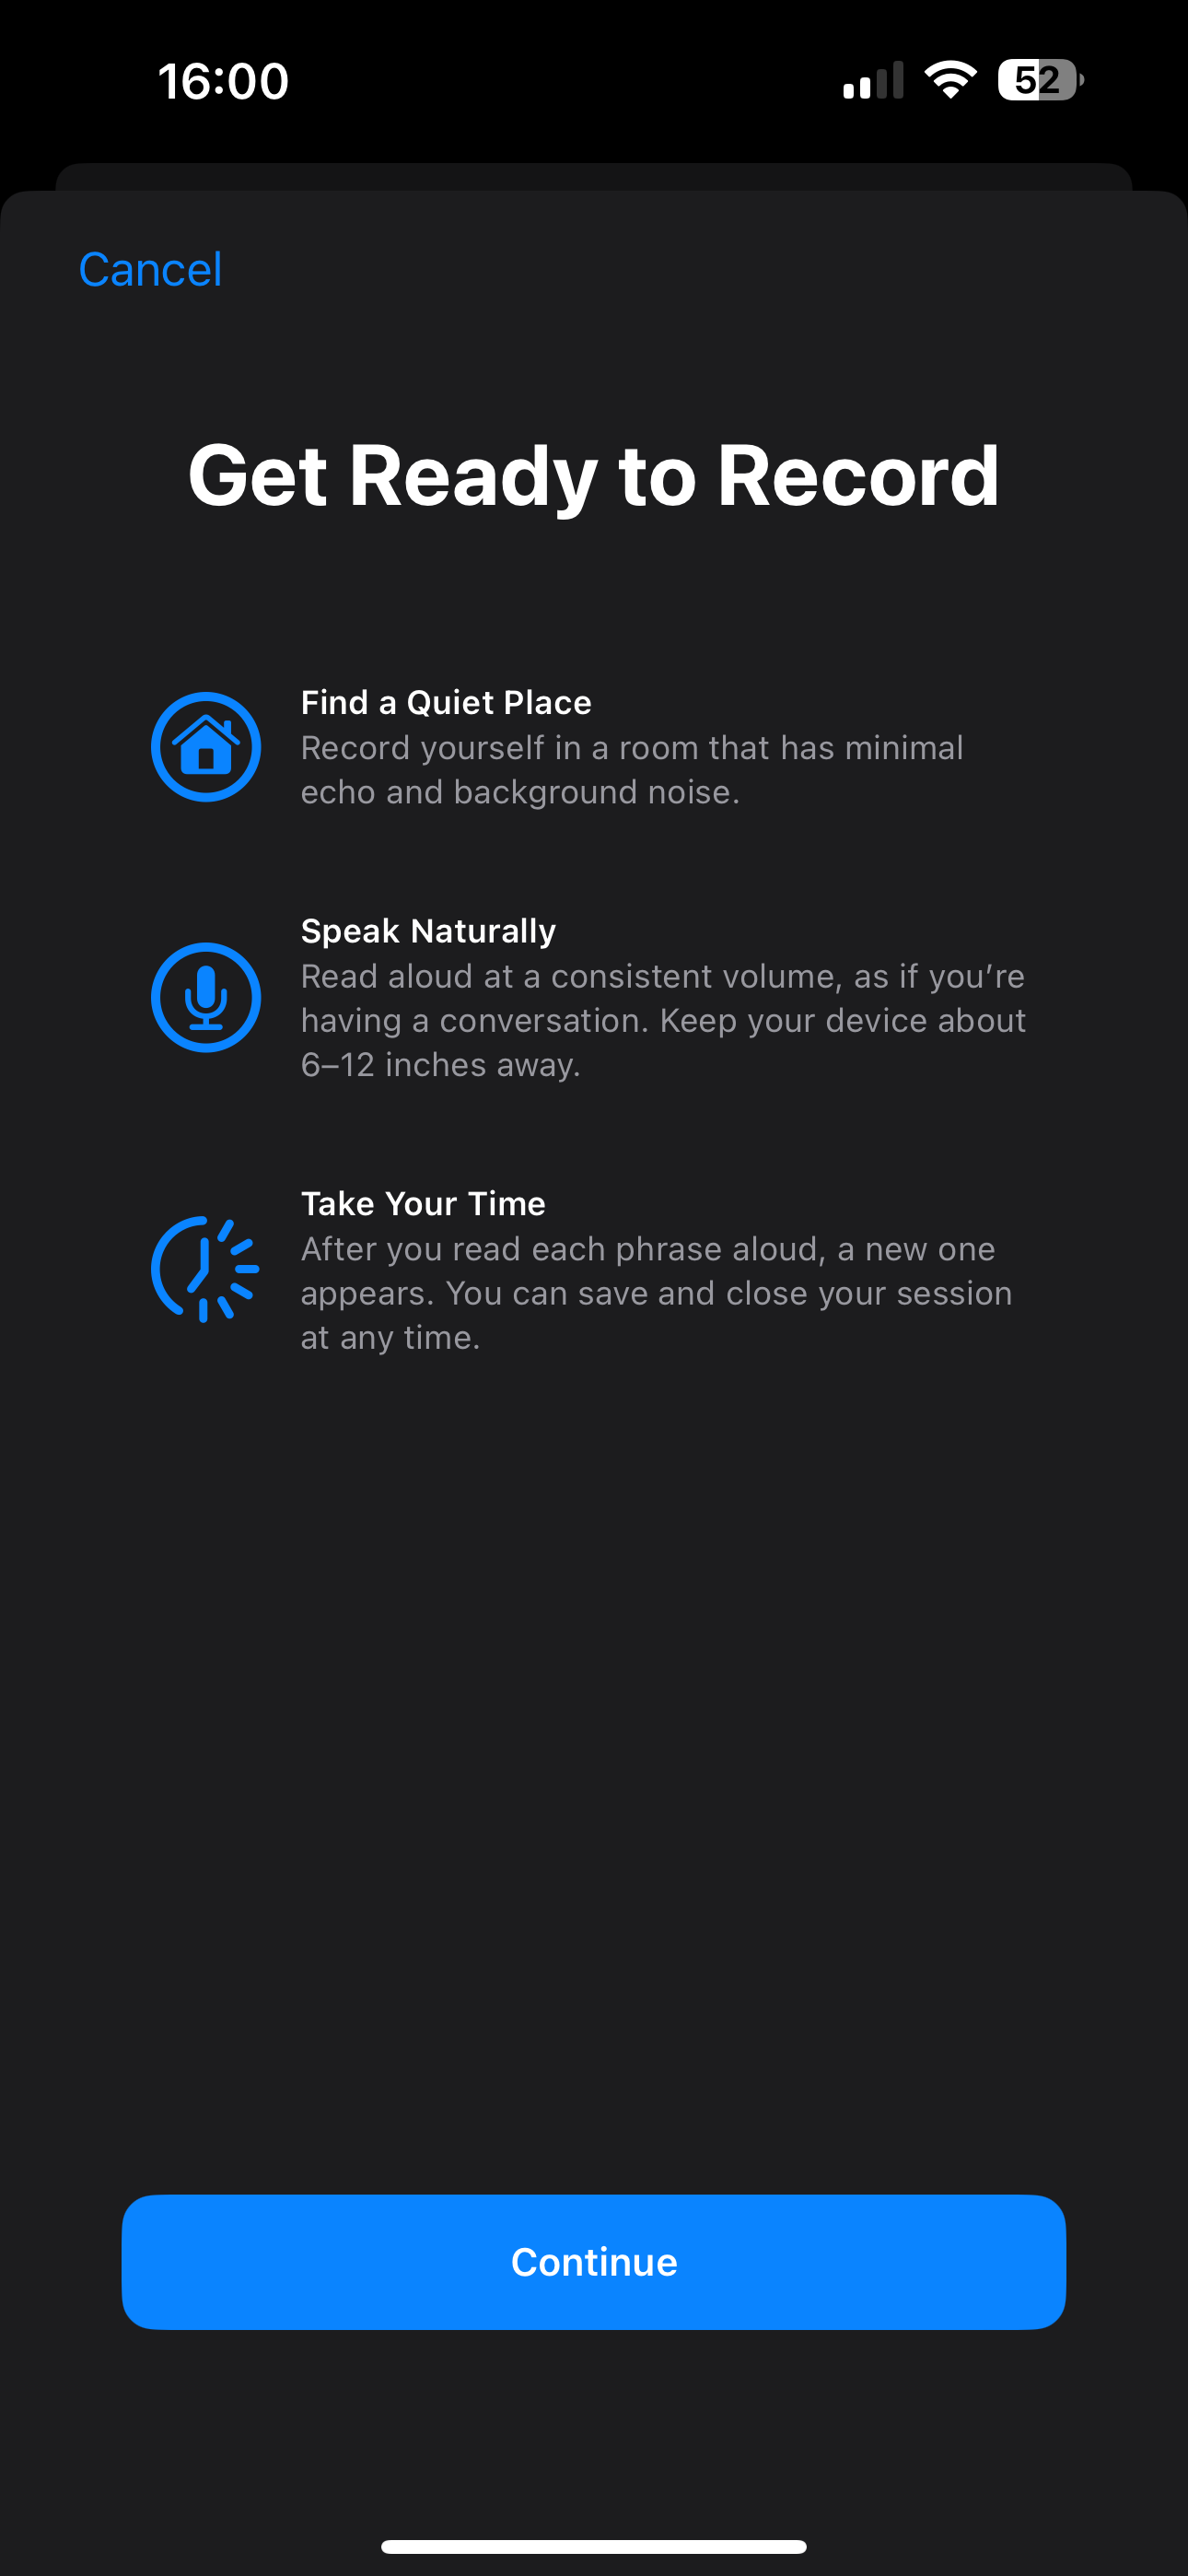
The next screen outlines some of the requirements, like being in a quiet room. Make sure you’re doing all three and hit Continue.

-
Step
8Select a name for your Personal Voice
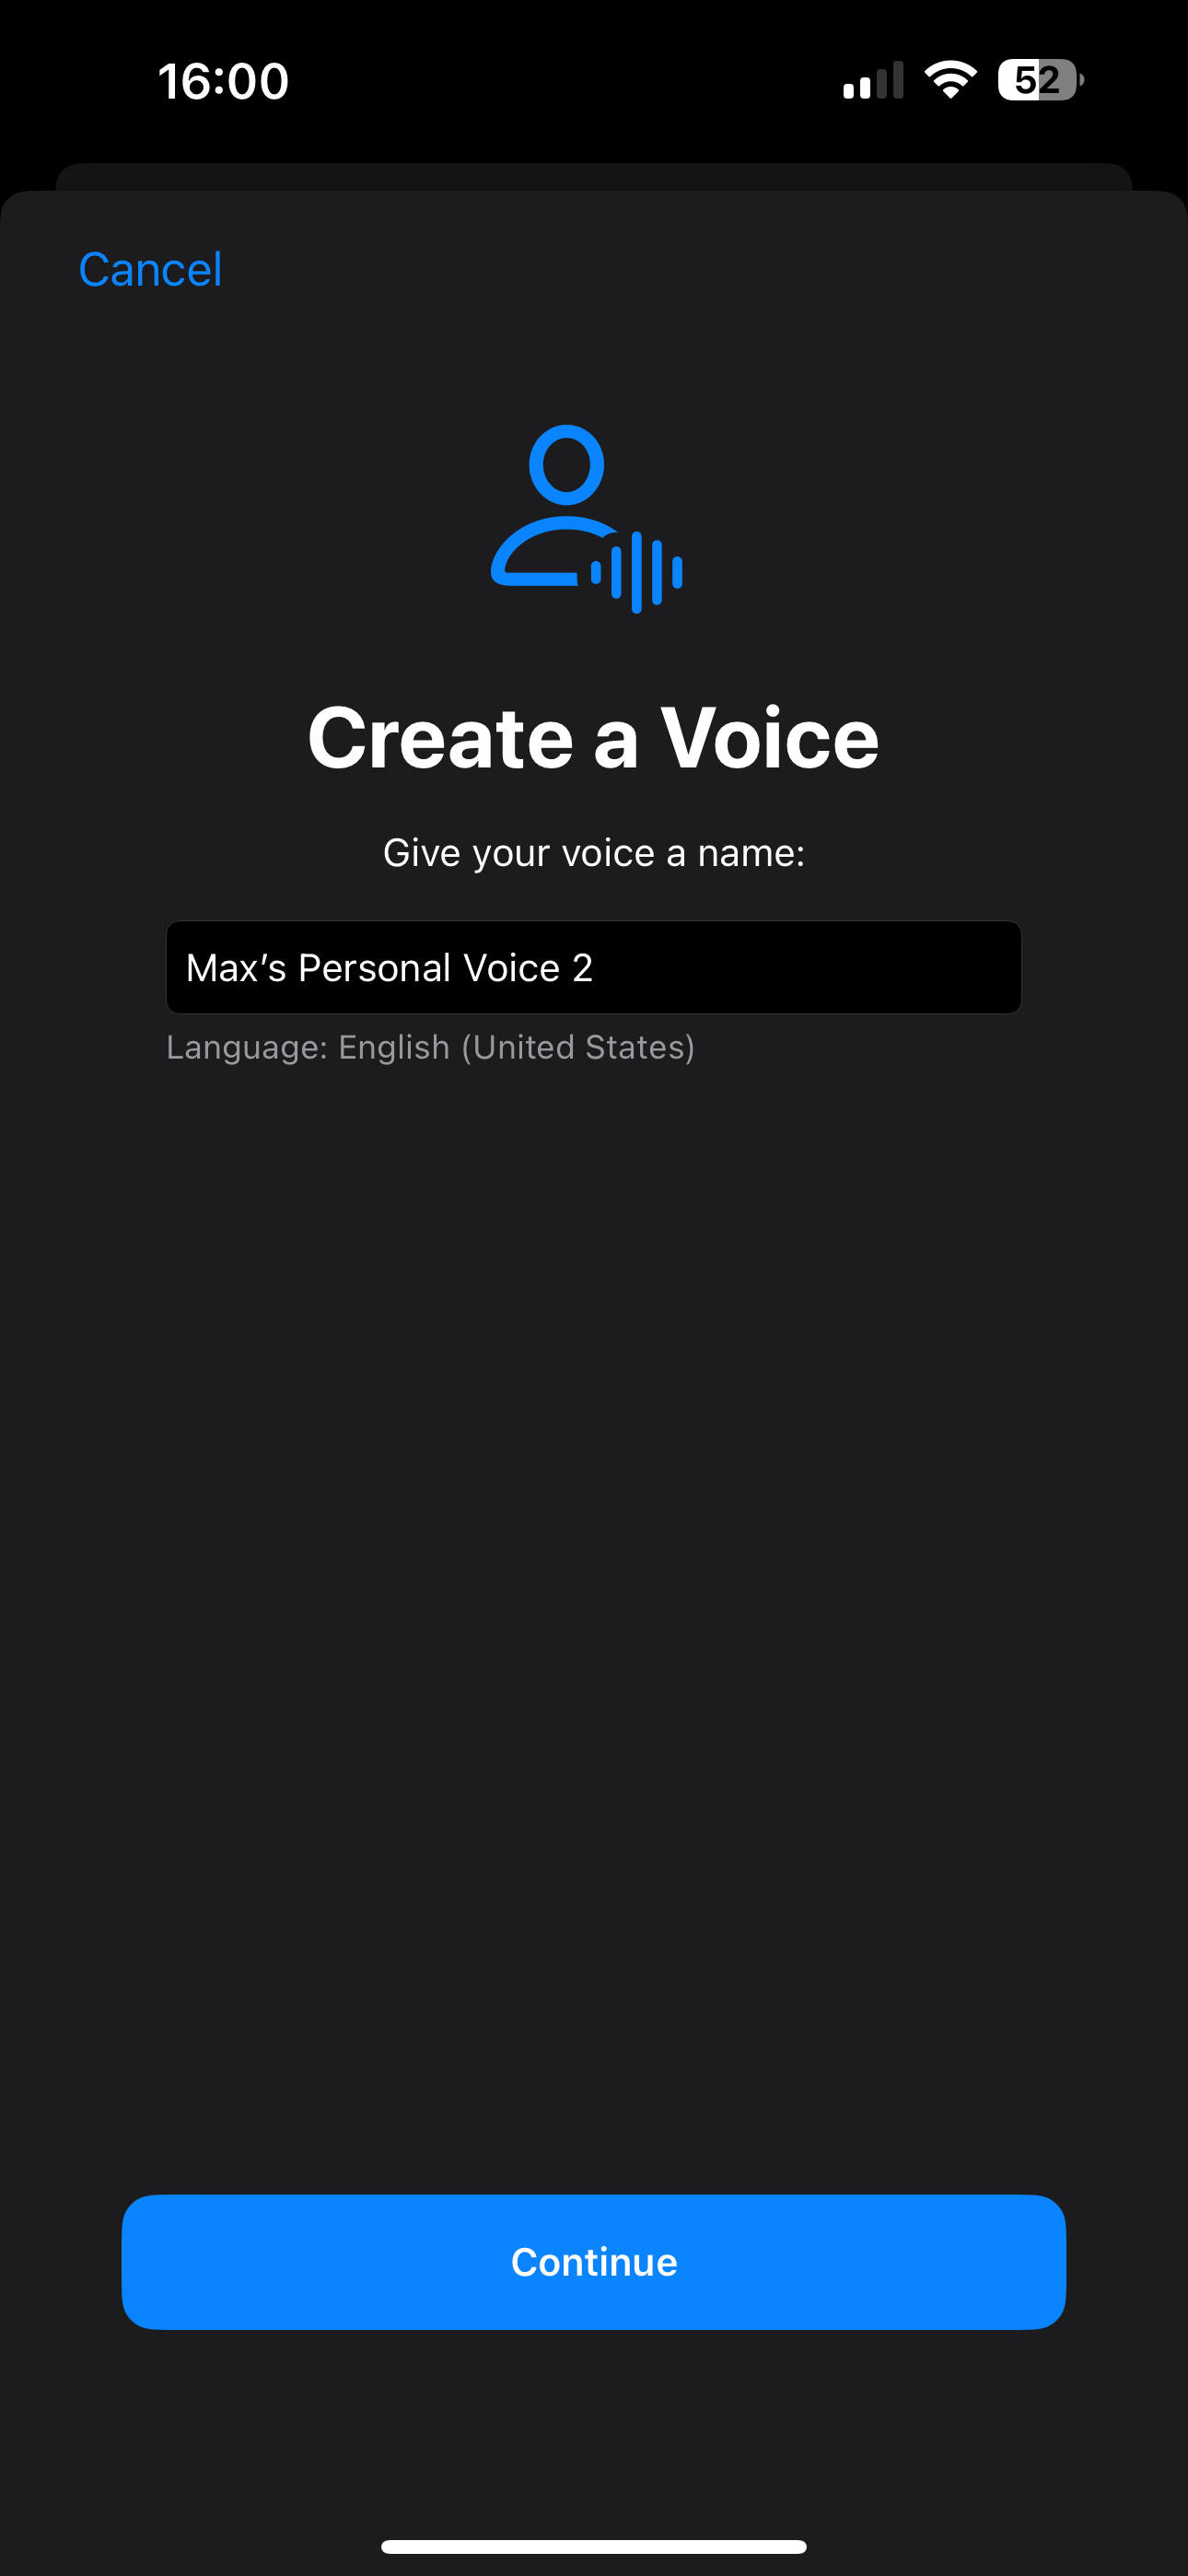
If you want, you can choose a name for your Personal Voice.

-
Step
9Begin reading the phrases
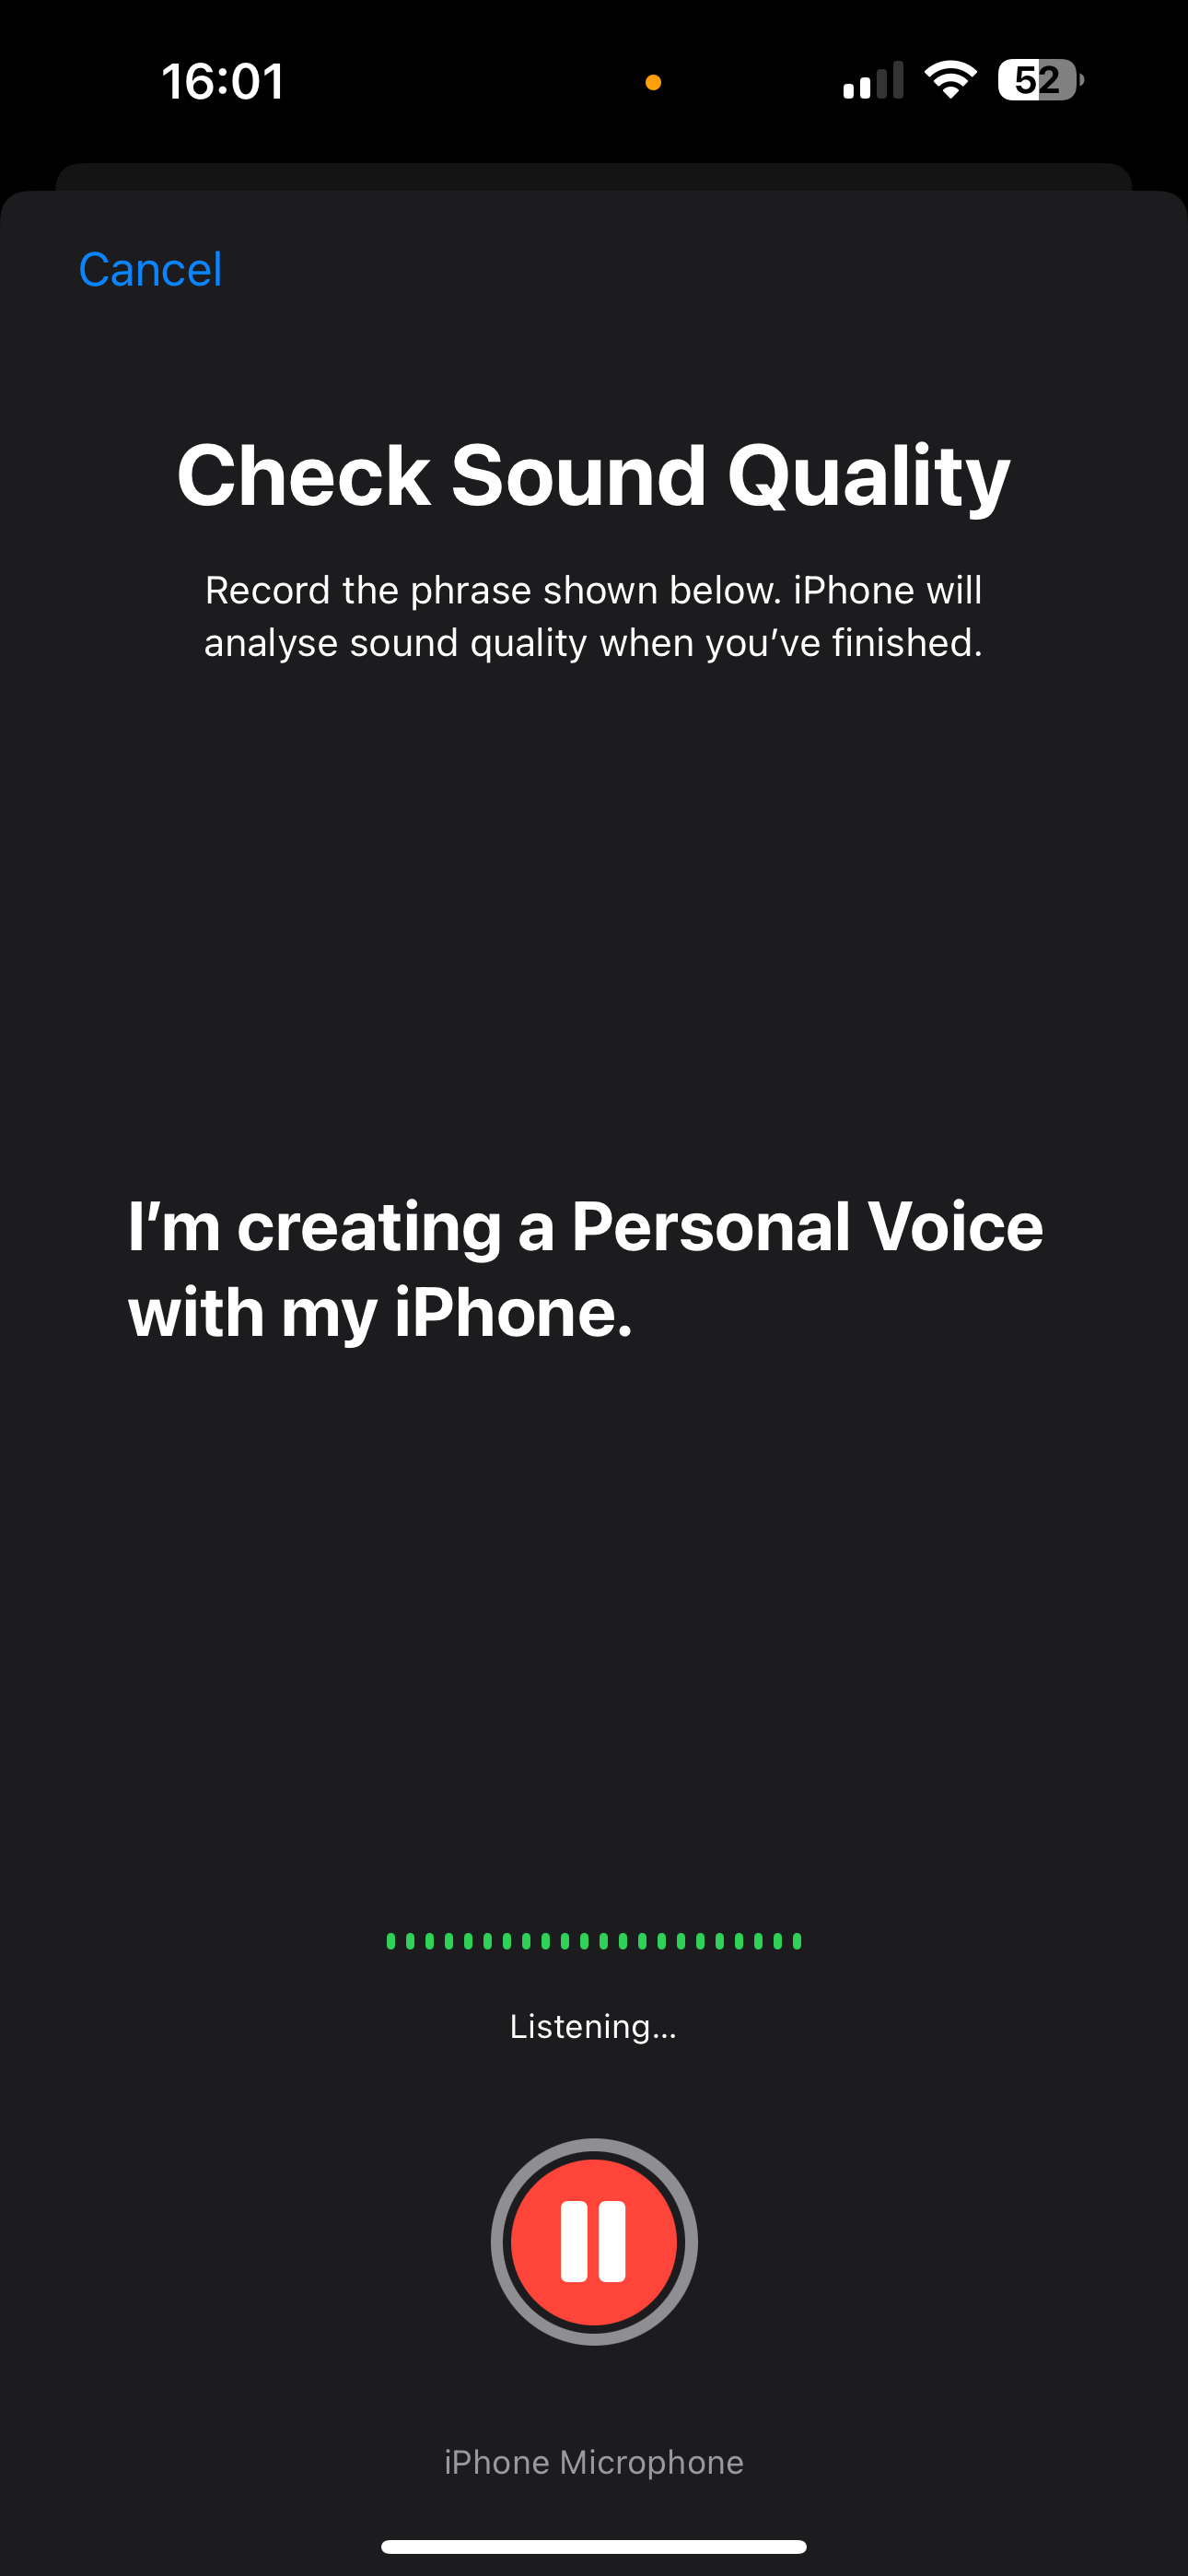
The next is the long one. For the iPhone to generate your Personal Voice, you need to say 150 phrases, all of which range in length from a few words to a paragraph. You have to say each phrase as the phone records your voice. This part takes between 25-30 minutes.

-
Step
10Once completed, tap Continue

Once you’ve said the 150 phrases, a pop-up will tell you that you’ve finished recording. Tap Continue.

-
Step
11Tap OK
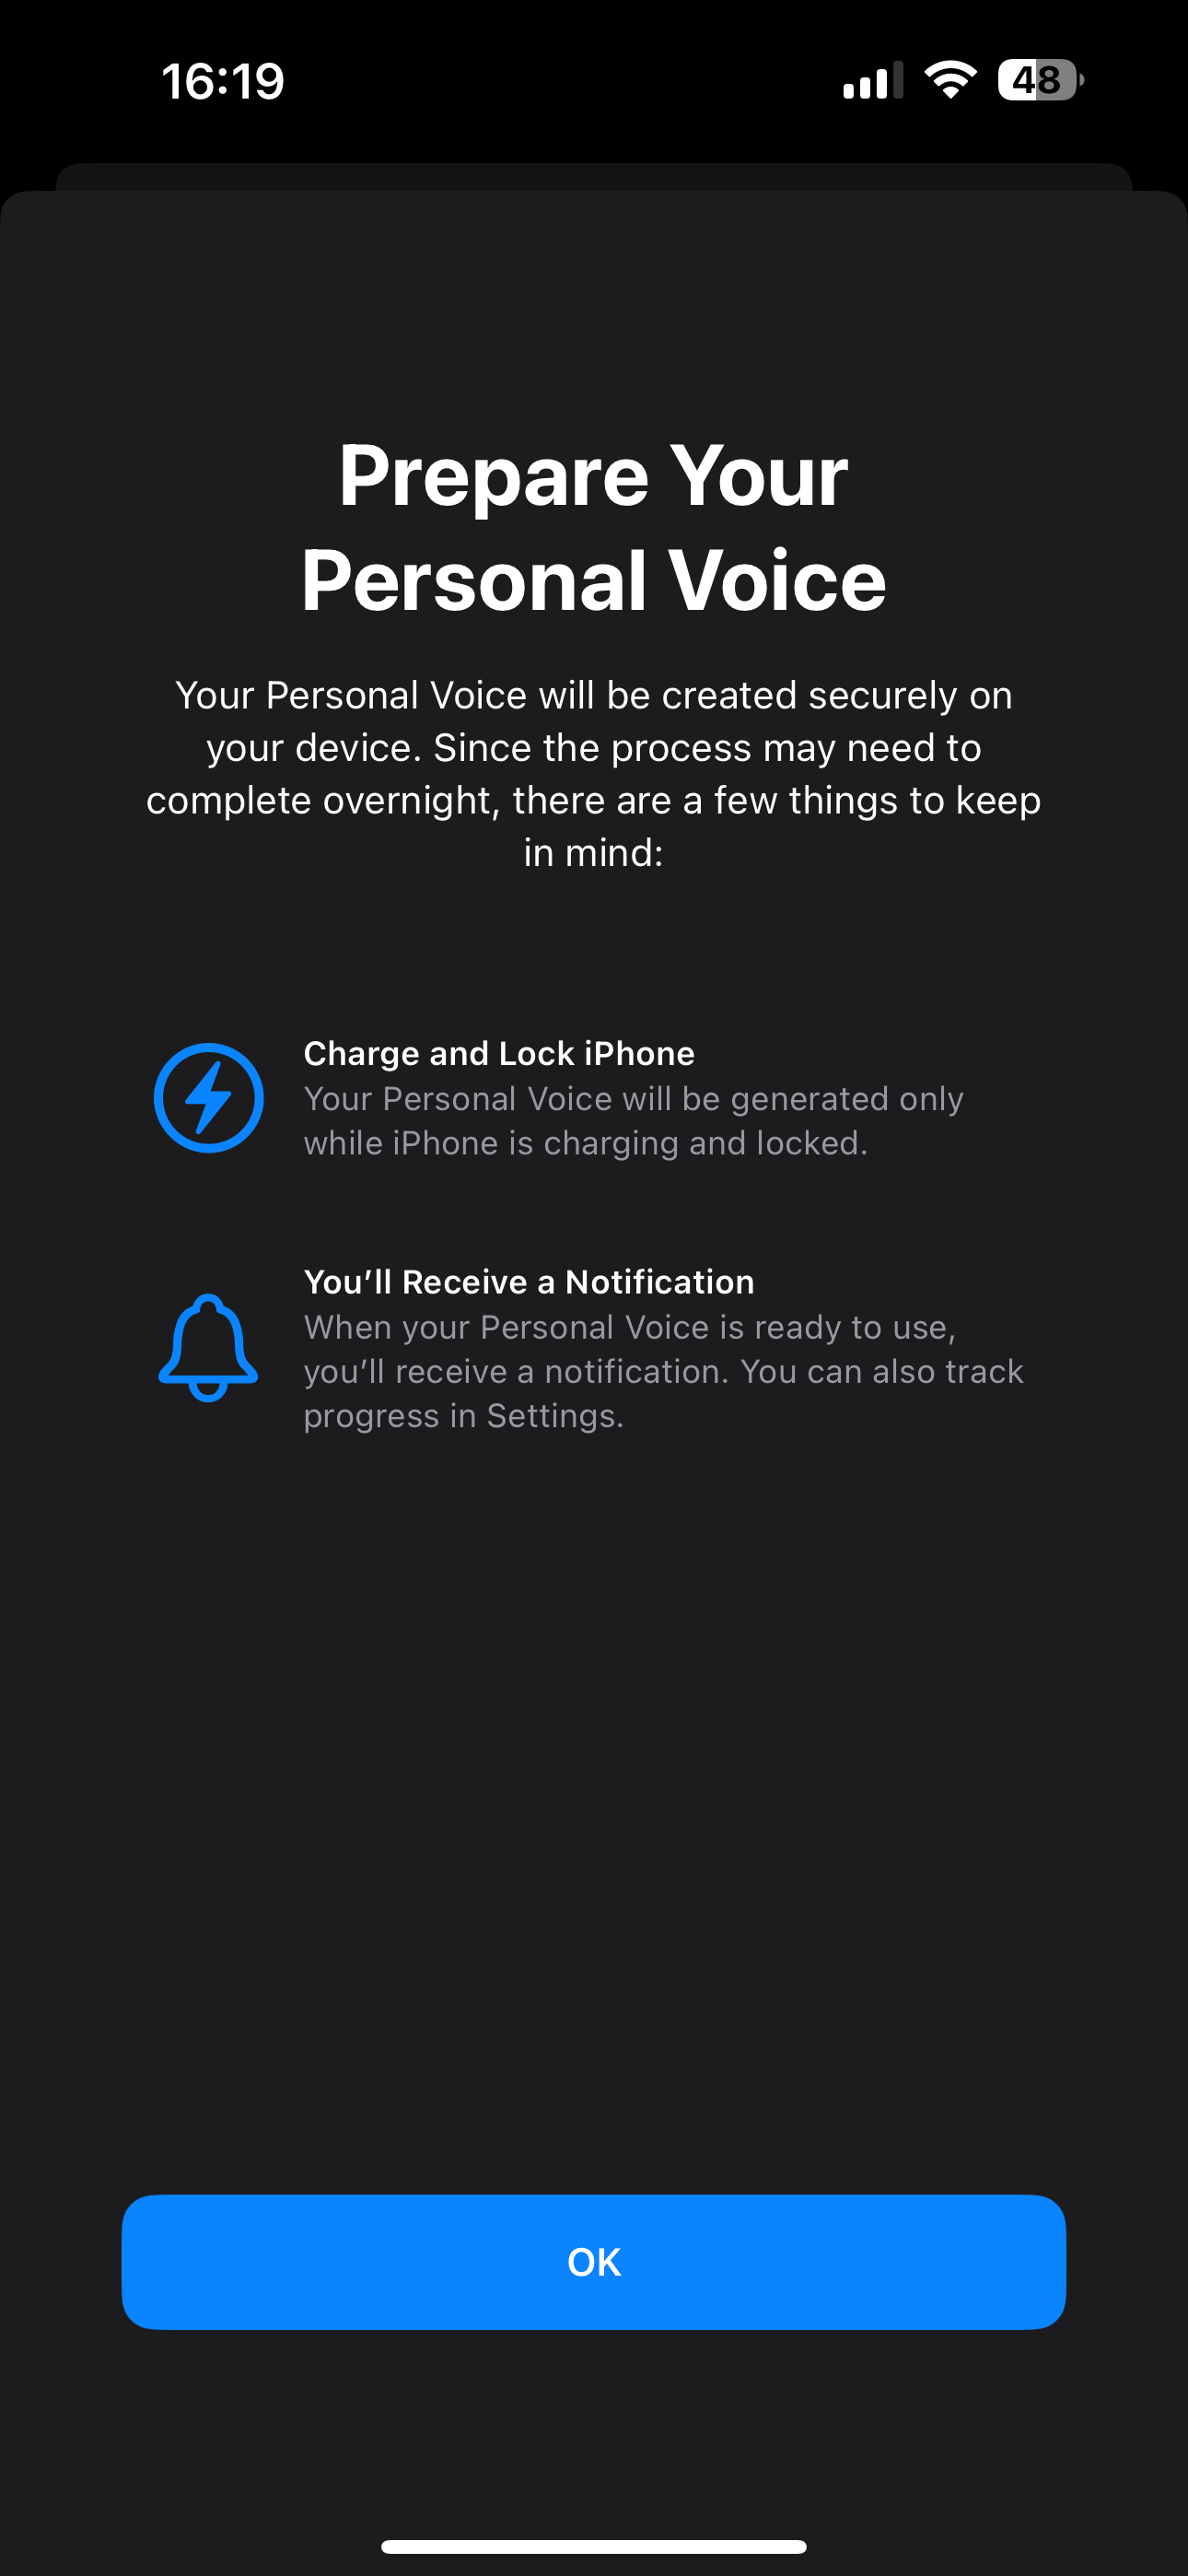
The next message will explain how the Personal Voice will be generated, tap OK.

-
Step
12Charge and Lock your iPhone to begin generating your Personal Voice
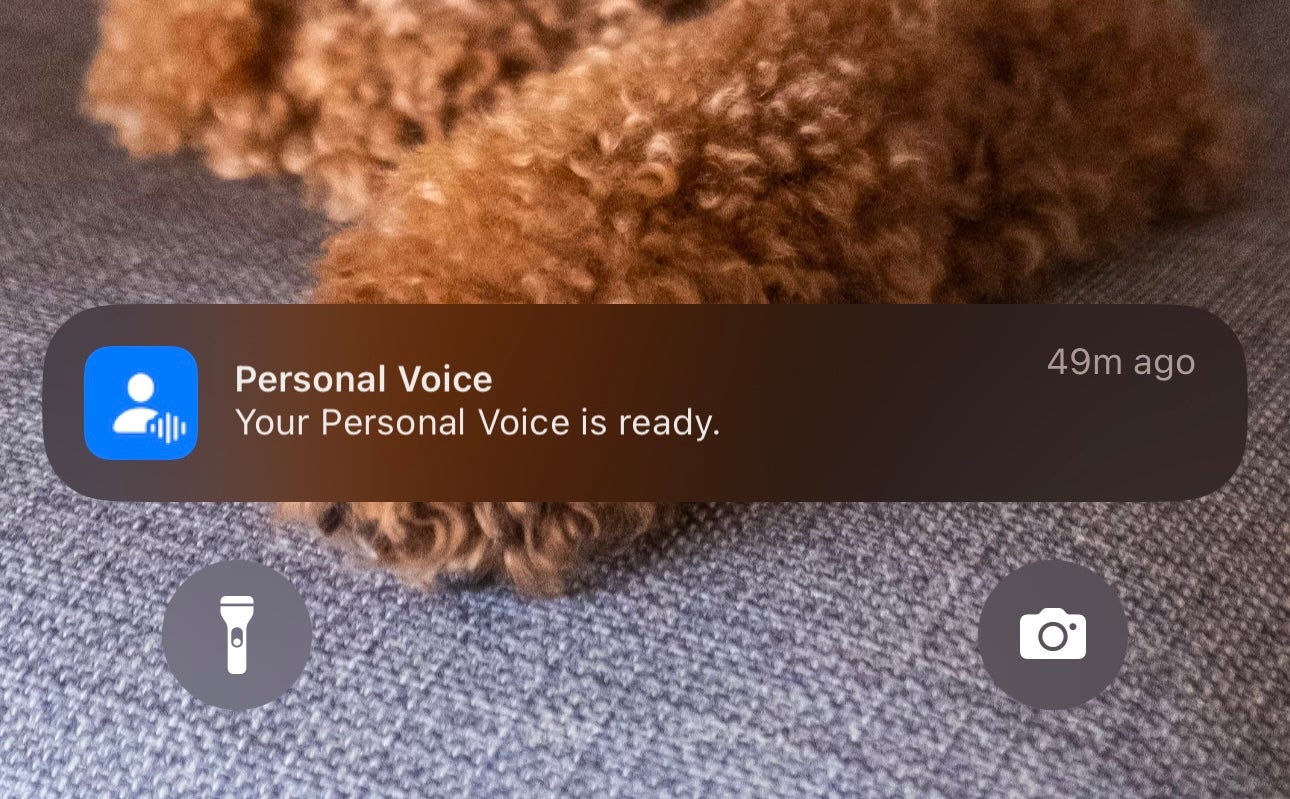
Once you’ve done all the phrases, the phone will begin generating your Personal Voice. This is done in the background when the phone is locked and charging and can take a few days. You’ll get an alert when it’s ready.

Troubleshooting
There are 150 phrases that need to be said in order for the Personal Voice to be generated.
Yes, the voice is generated on the iPhone itself and stored on the device.

