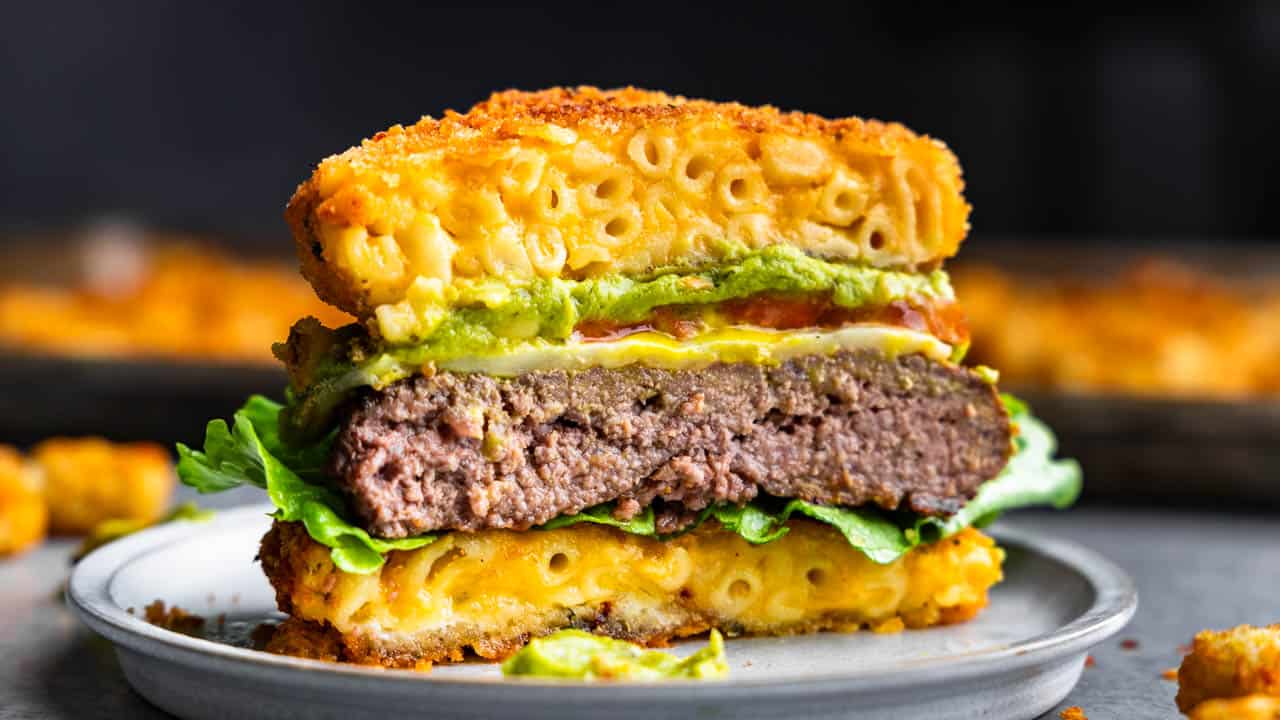
Hold on to your diets folks! I’m about to blow your mind with calories in the most delicious way. Take yourself on the most delicious culinary adventure by replacing your standard burger bun made of bread with mac and cheese! That’s right, we’re breading and frying mac and cheese and using it as a hamburger bun. It’s just as delicious as it sounds.
The buns can be used with any burger with any of your favorite toppings. We even have a guide for the perfect burger to help you out.
Why Our Recipe
- I mean, it’s delicious. So delicious it should go without saying. So delicious it is probably dangerous.
- Tried and true recipe online since 2014 using the most delicious mac and cheese.
- Not just for looks, you can actually get your jaw around our buns.
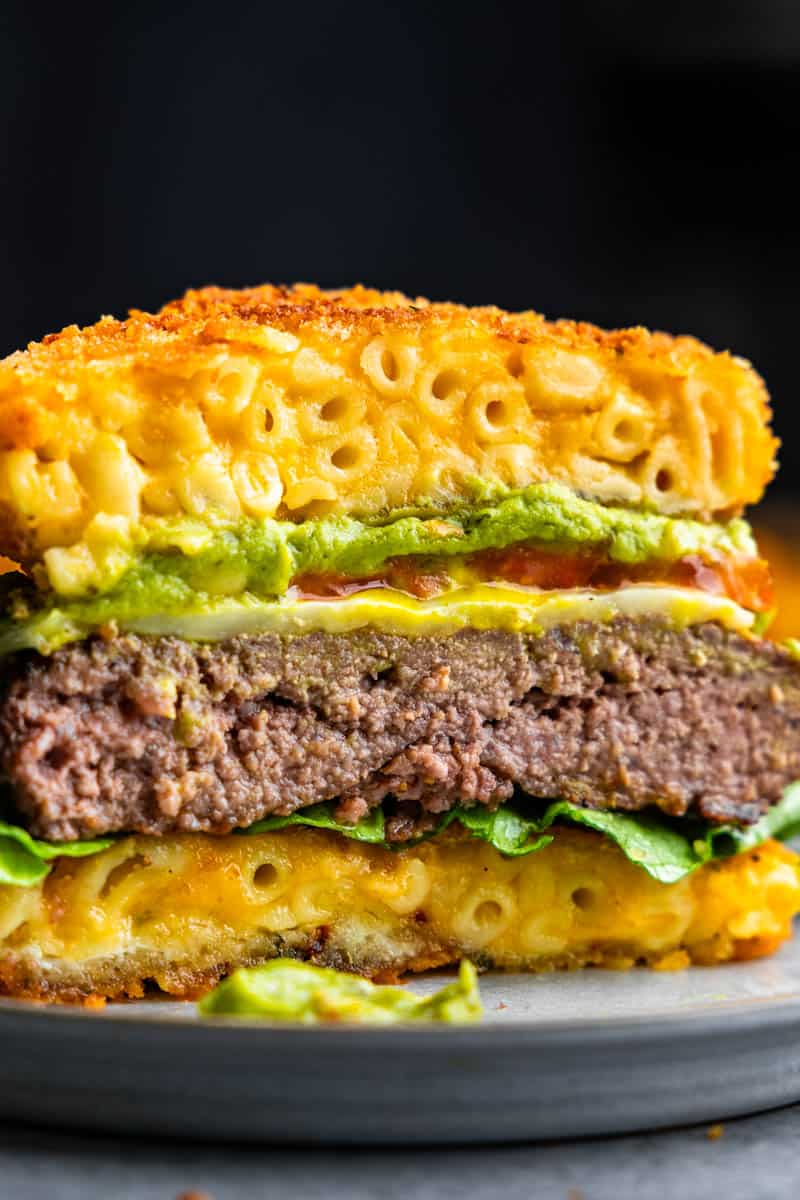

The chefs behind Rockit Burger Bar were on The Today Show in 2013 showing off their famous burger that used mac and cheese as the buns. I needed to try it for myself, and thus this recipe was born. Theirs are the thick, over-the-top burgers that stack up tall, but I decided to make my version a little more edible in a single bite. Sure, it’s a heart attack on a plate, but this is one of those dishes that is meant to be a fun culinary adventure for special occasions.
Ingredient Notes
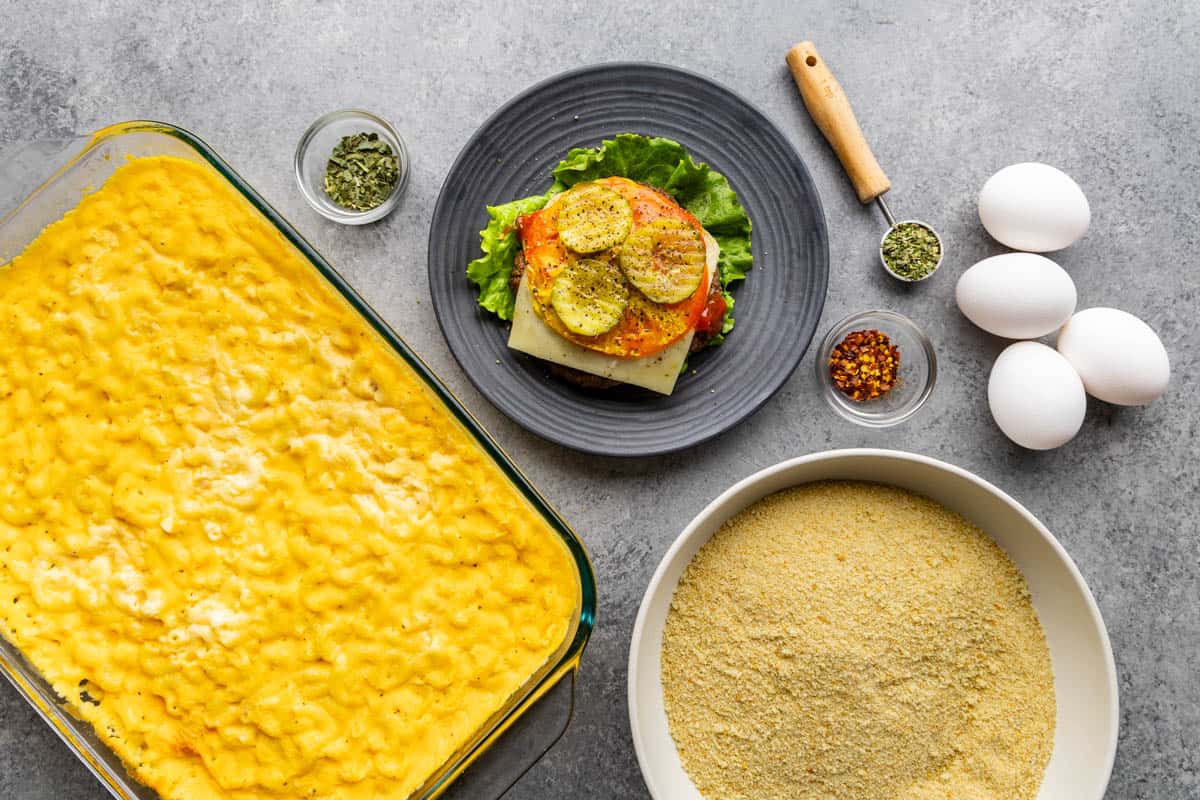

- Elbow Macaroni Mac and Cheese: elbow macaroni is the necessary shape to turn it into buns. Other than that you could technically used whatever baked mac and cheese recipe you love. Ours is pretty dang good, but some people have feelings about their mac and cheese.
- Frank’s Hot Sauce: enhances the flavor of the cheese without making the sauce overly spicy. You can double it if you want a bun with a kick.
- Sharp Cheddar Cheese: gotta be sharp for mac and cheese. Always.
- Vegetable Oil: you can use any frying oil of your preference.
- Plain Bread Crumbs: you can also use Italian bread crumbs and skip the basil and oregano.
- Crushed Red Pepper Flakes: adds a mild kick to the buns, but you can always leave them out if you aren’t a fan of heat.
Mac and Cheese
Be sure to use elbow macaroni as other shapes might be more difficult to work with and fall apart. Skip any bread crumbs or crunchy toppings because we’ll be breading and frying this mac and cheese. Most importantly, the mac and cheese needs to be cold and solid for cutting and frying. This ensures the mac and cheese holds its shape when cut into buns.

Chef’s Tips for Frying and Cutting
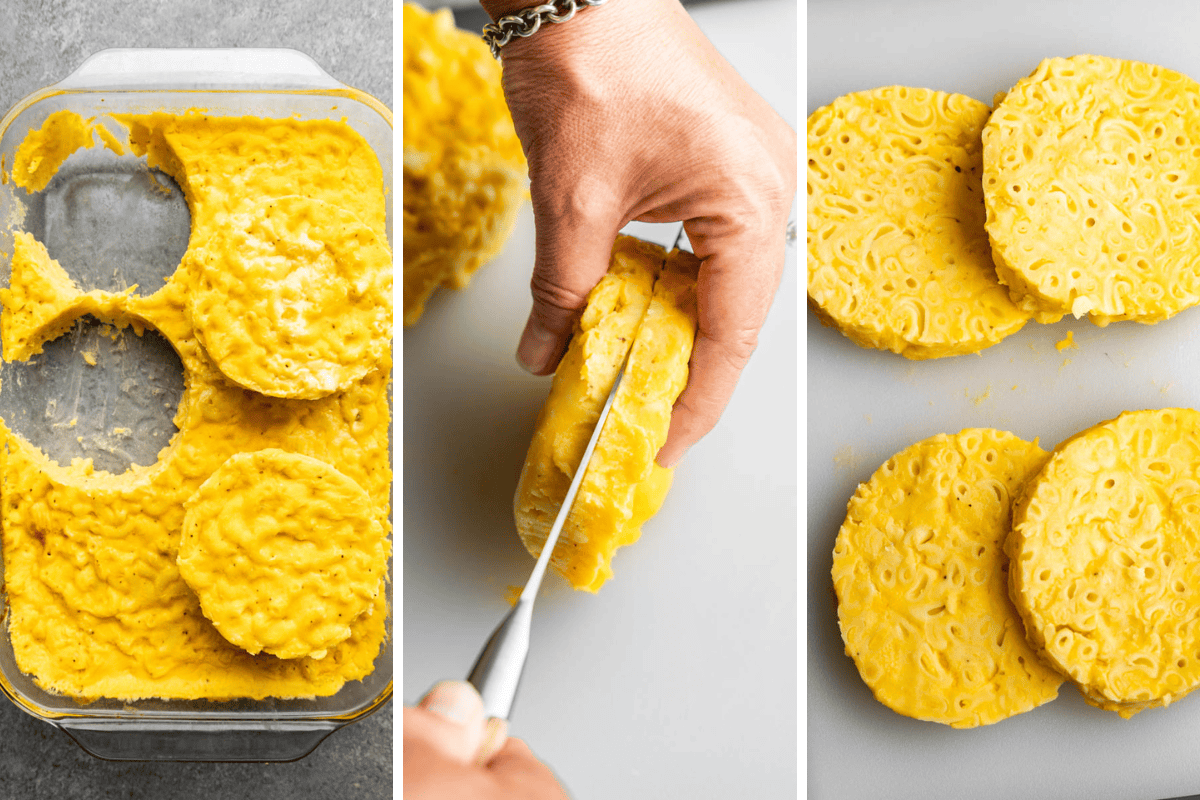
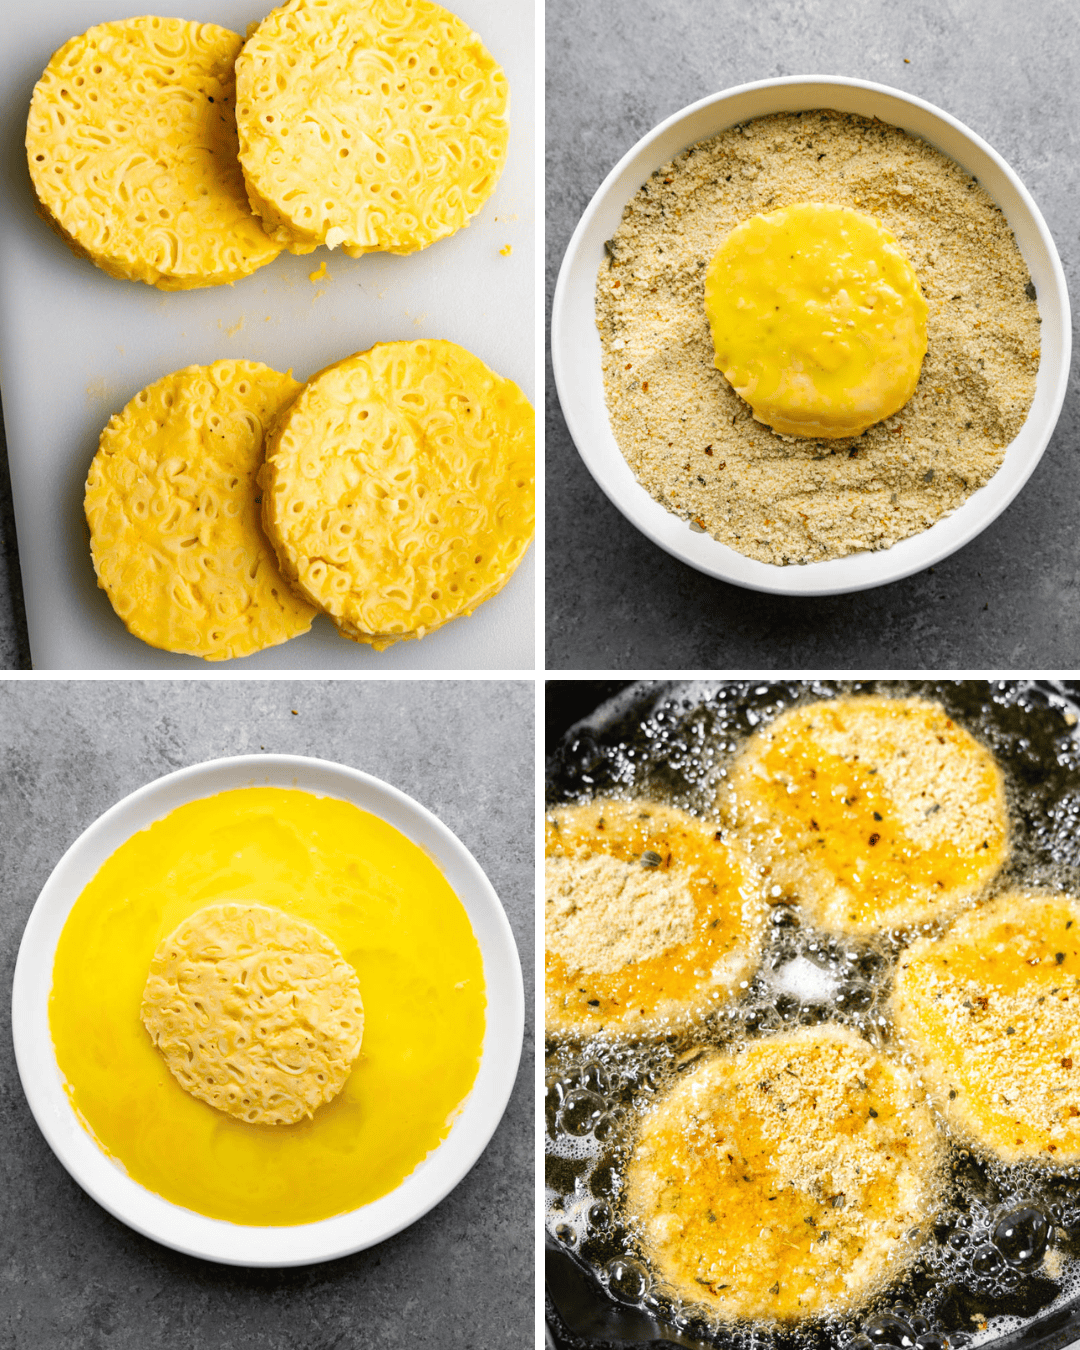
Cutting the Buns: Use a cup, biscuit cutter, or round cookie cutter to cut out circles directly from the chilled mac and cheese in the 9×13 pan. You should be able to get either 6 large circles, or 8 medium-sized circles, which will be sliced in half to create two buns each. So, you are making enough for 6 or 8 burgers with one pan of mac and cheese.
Handle with Care: Mac and cheese buns are delicate, so handle them gently. Keeping them cold while cutting and prepping will help maintain their shape. It’s easier to fry the thick buns without slicing them in half, but that’s hard to get your jaw around for a bite.
Par-Freezing Option: If you’re concerned about the buns holding together during frying, you can par-freeze the cut and sliced buns. Place them on a baking sheet and freeze for about 30 minutes before coating and frying. This extra step can make handling easier and help the buns stay intact in the hot oil.

Burger and Topping Suggestions
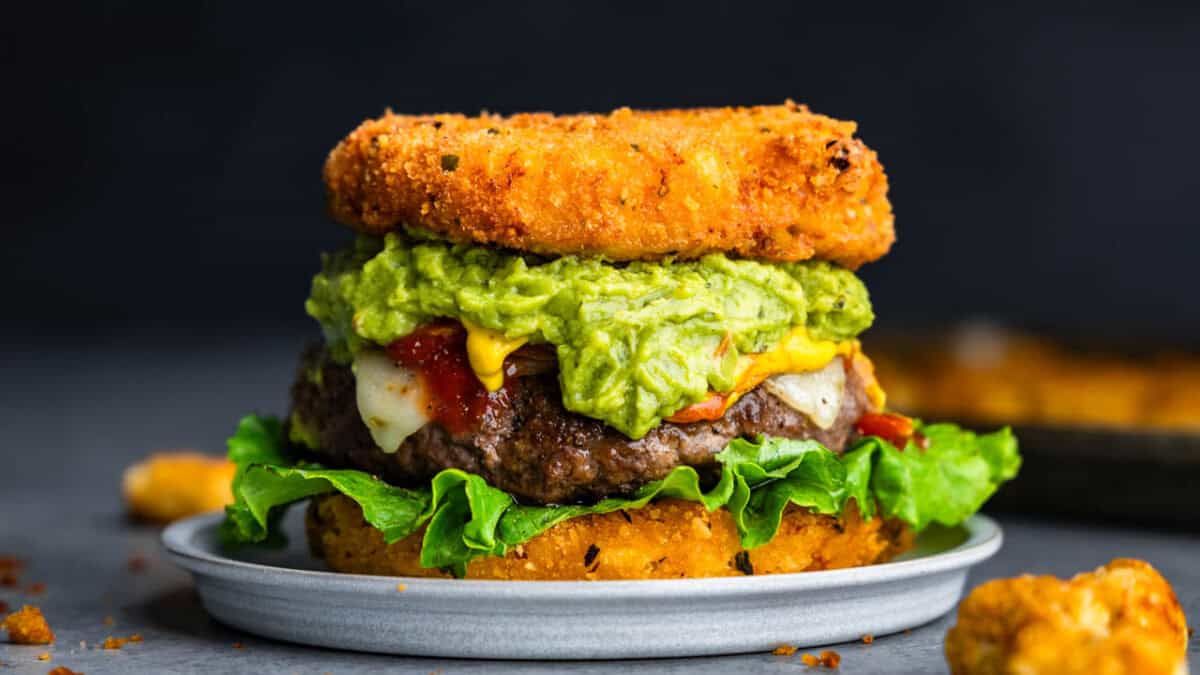
The Burger: First off, you are going to want a big old juicy burger patty for this one so we’ll recommend using our tips for the perfect burger or a smoked burger. You could go for a turkey burger if you can’t do red meat, but we’ll recommend the beef on this one if you can.
More Mac and Cheese: Those scraps from cutting out your circles? Warm them back up in the microwave and spoon that goodness right on top of your patty.
California Style: top your burger patty with some sauteed, caramelized, or grilled onions and spoon on some guacamole. And you can’t go wrong with making it an extra cheese burger with a slice of cheese melted over the patty first.

Storage and Reheating Instructions
Refrigerate leftover mac and cheese buns in an airtight container for up to 5 days.
Freeze the prepared buns by placing them on a baking sheet to par-freeze for about 1 hour, then transfer to a plastic freezer bag or container. They can be frozen for up to 3 months.
To reheat, preheat your oven to 350 degrees Fahrenheit. Place the buns on a baking sheet and bake for 10-15 minutes until heated through and crispy. Avoid microwaving, as this can make the buns soggy and fall apart.

